Background:
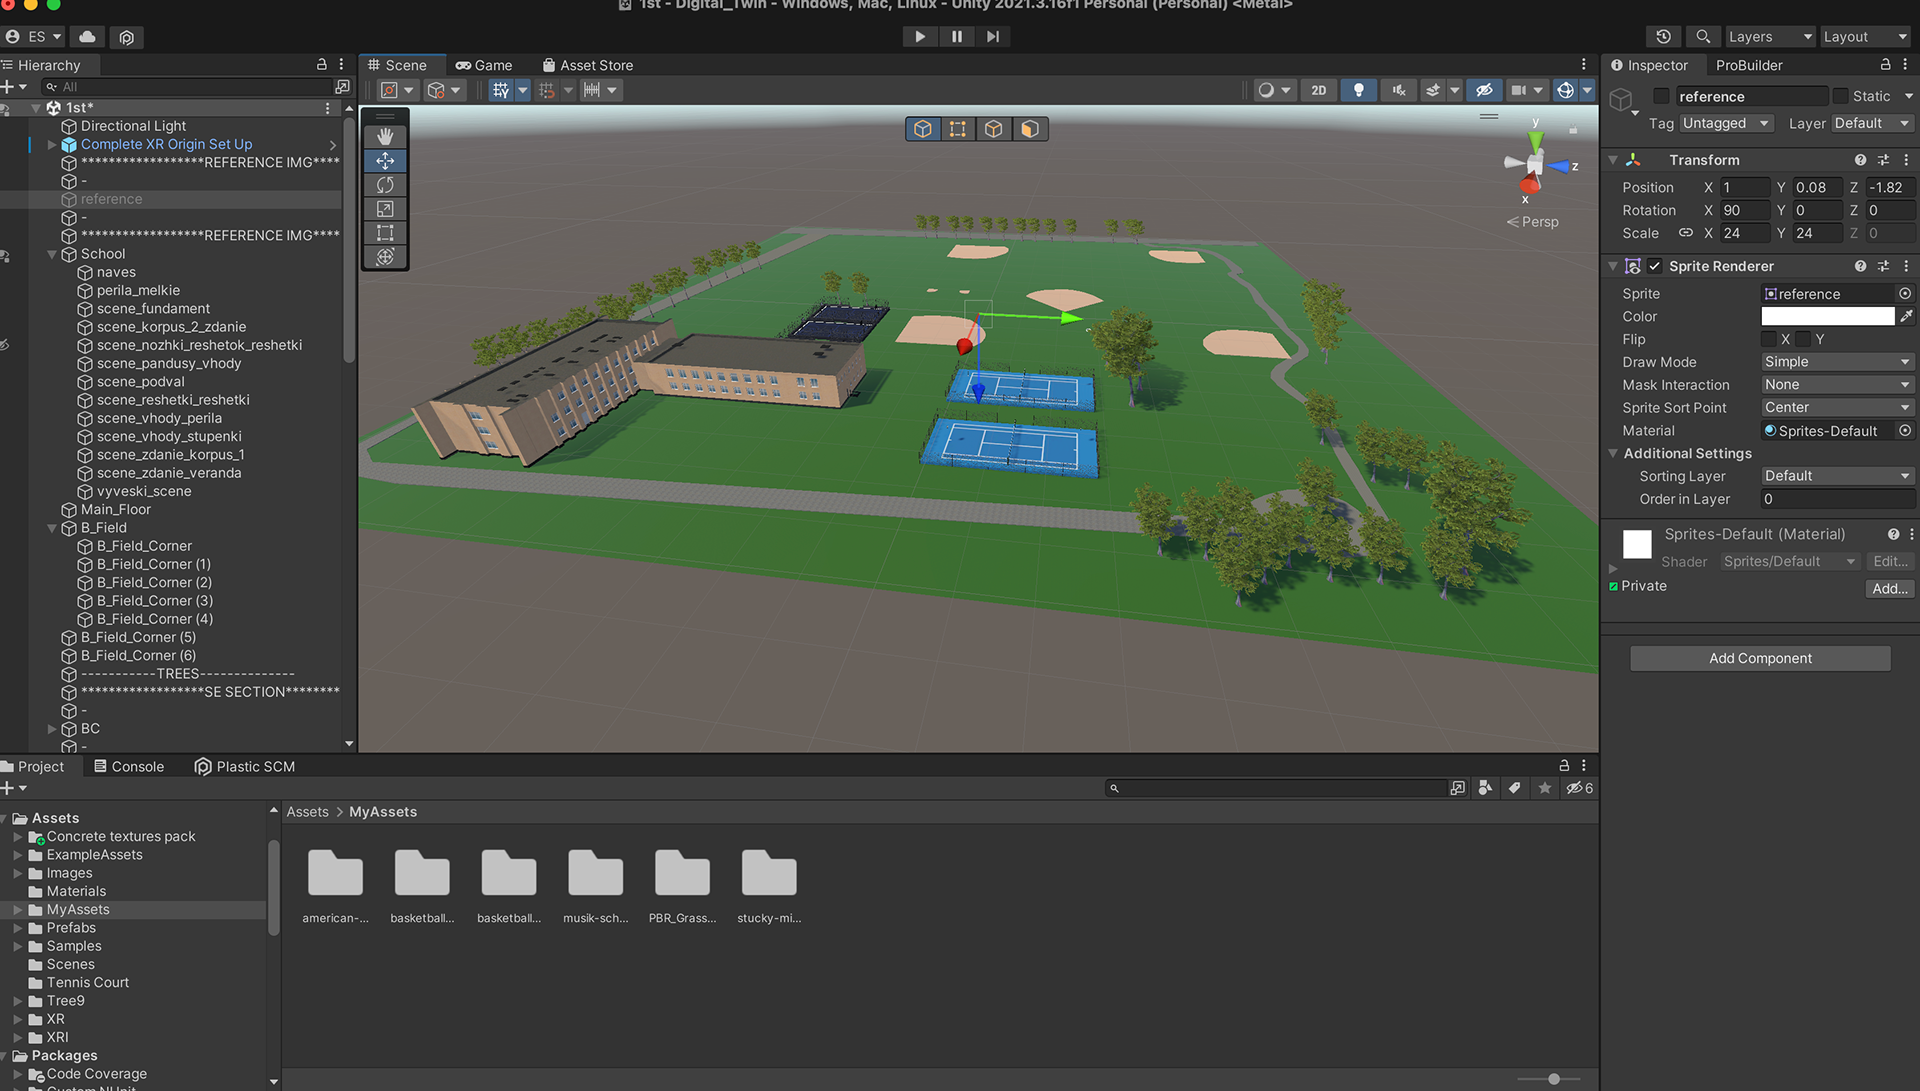
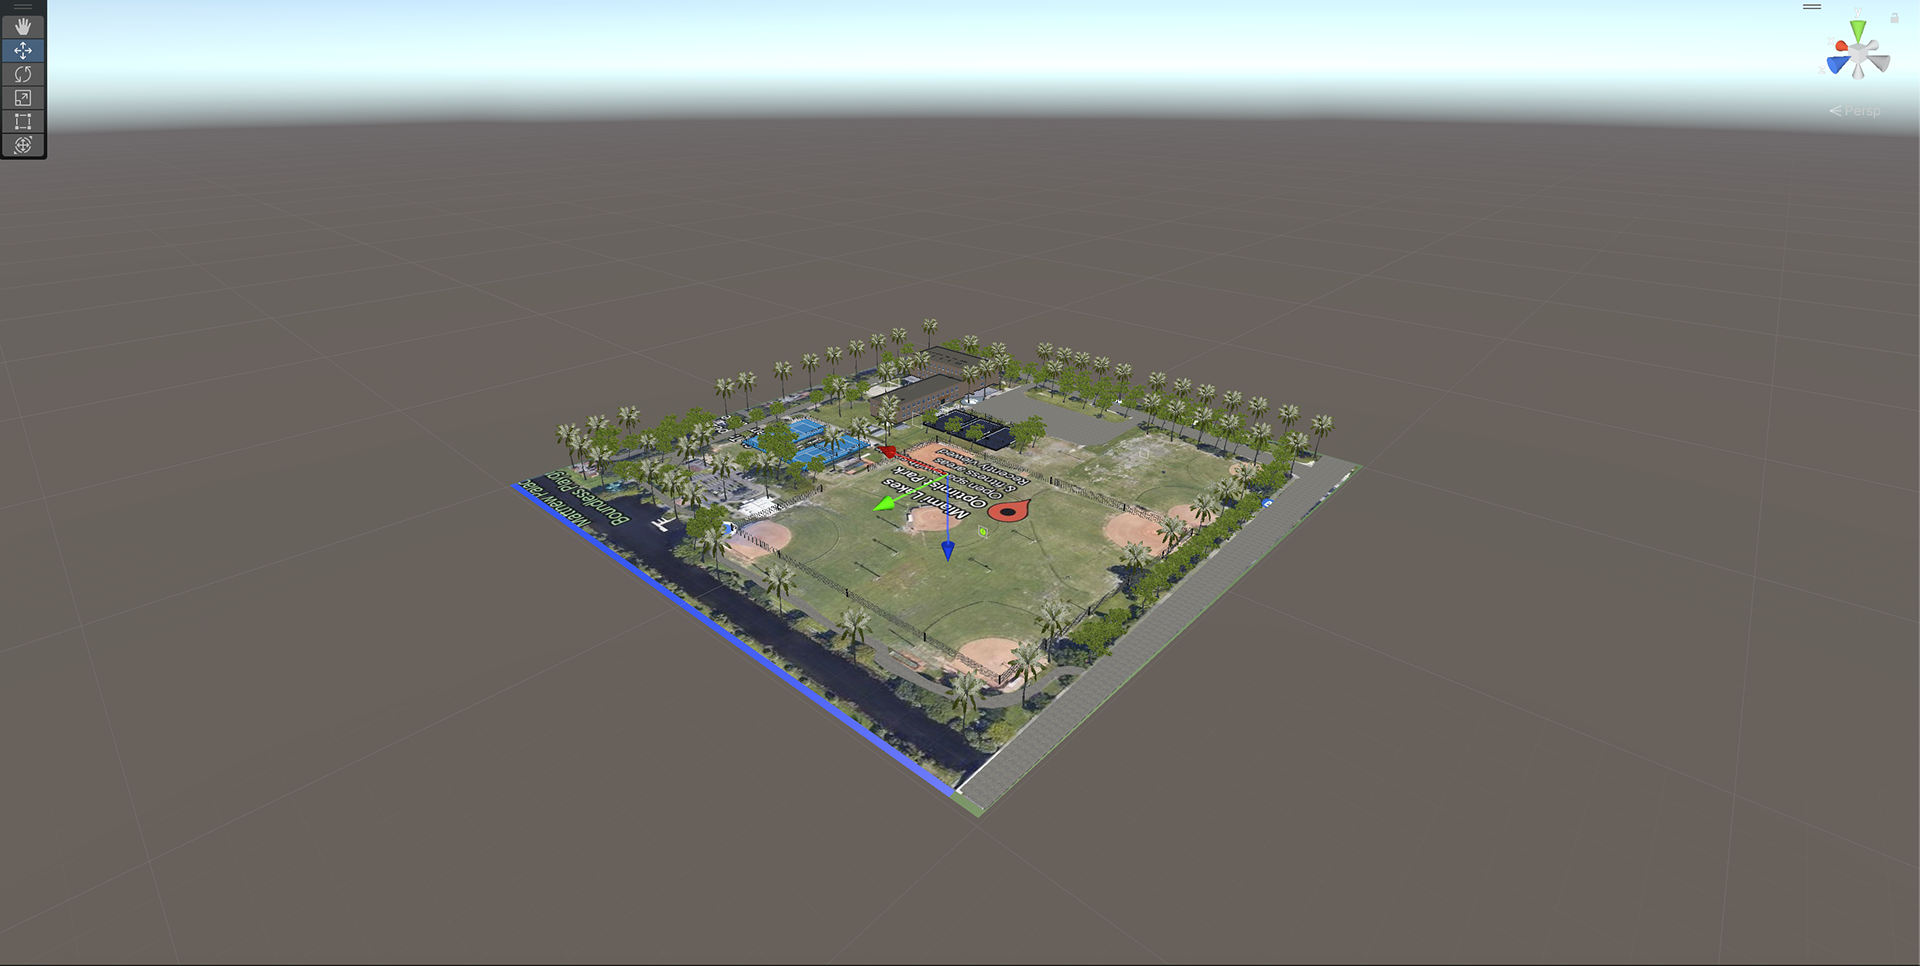
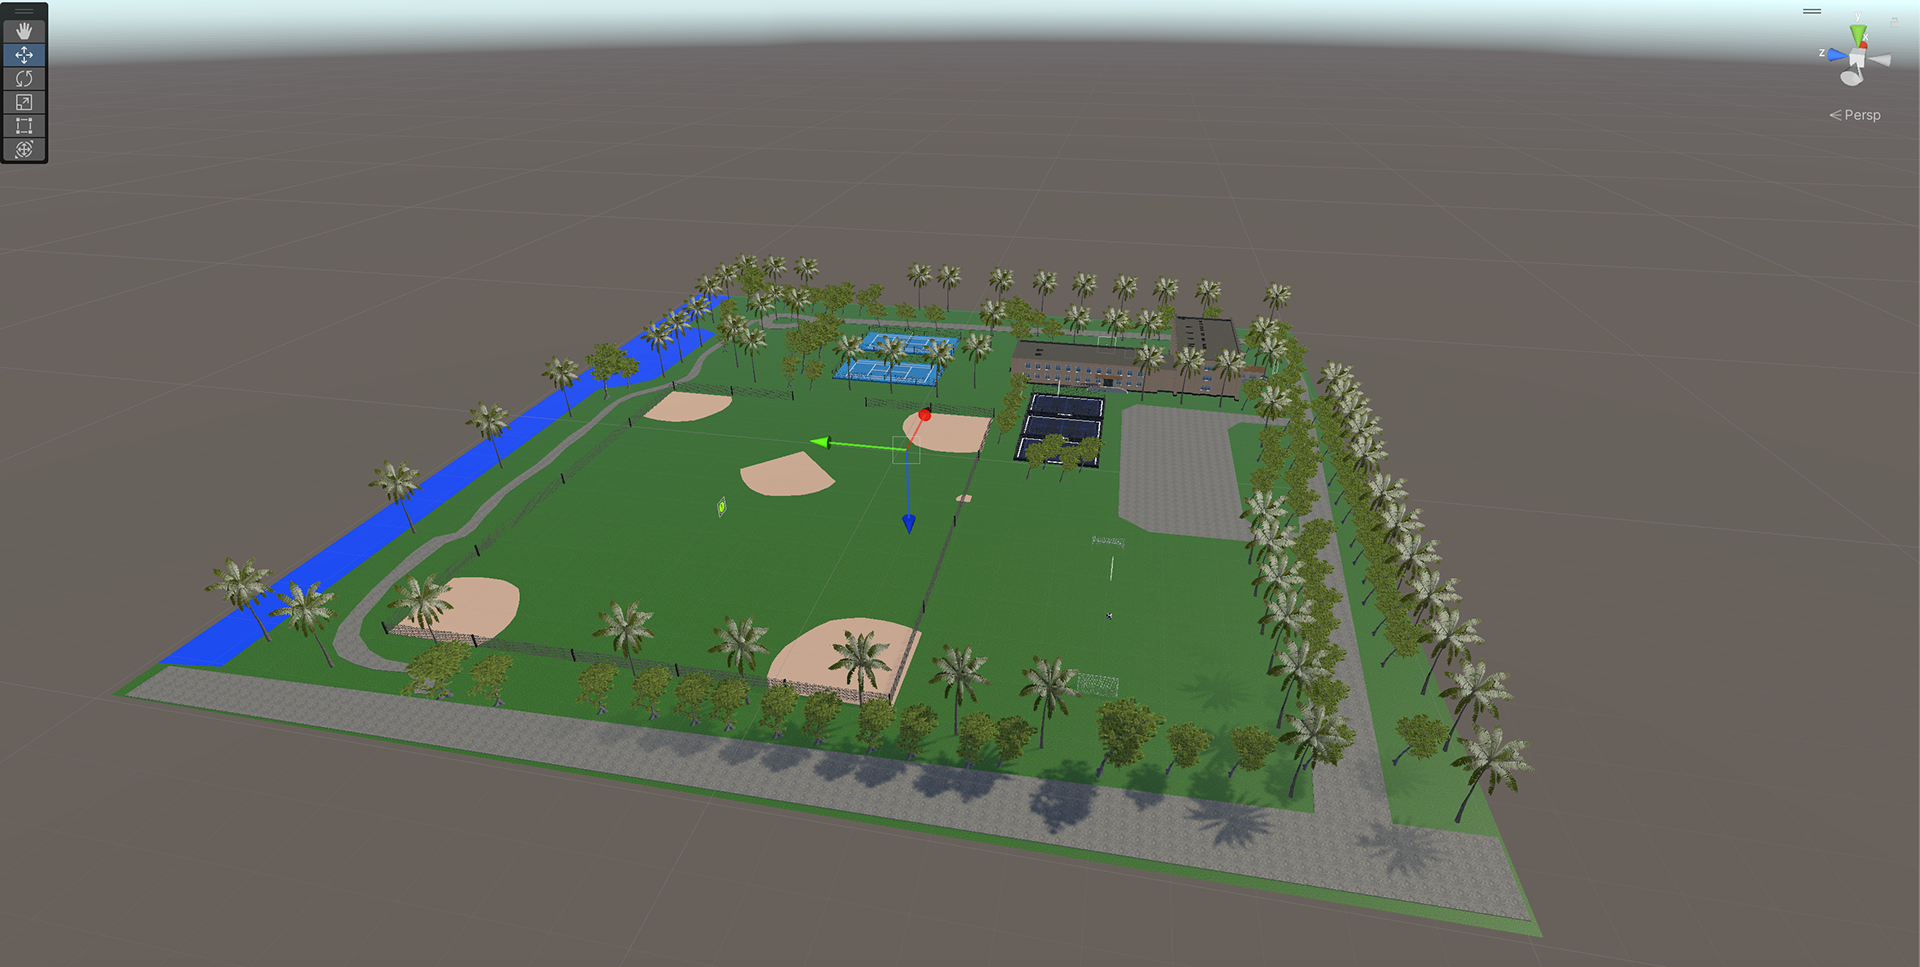
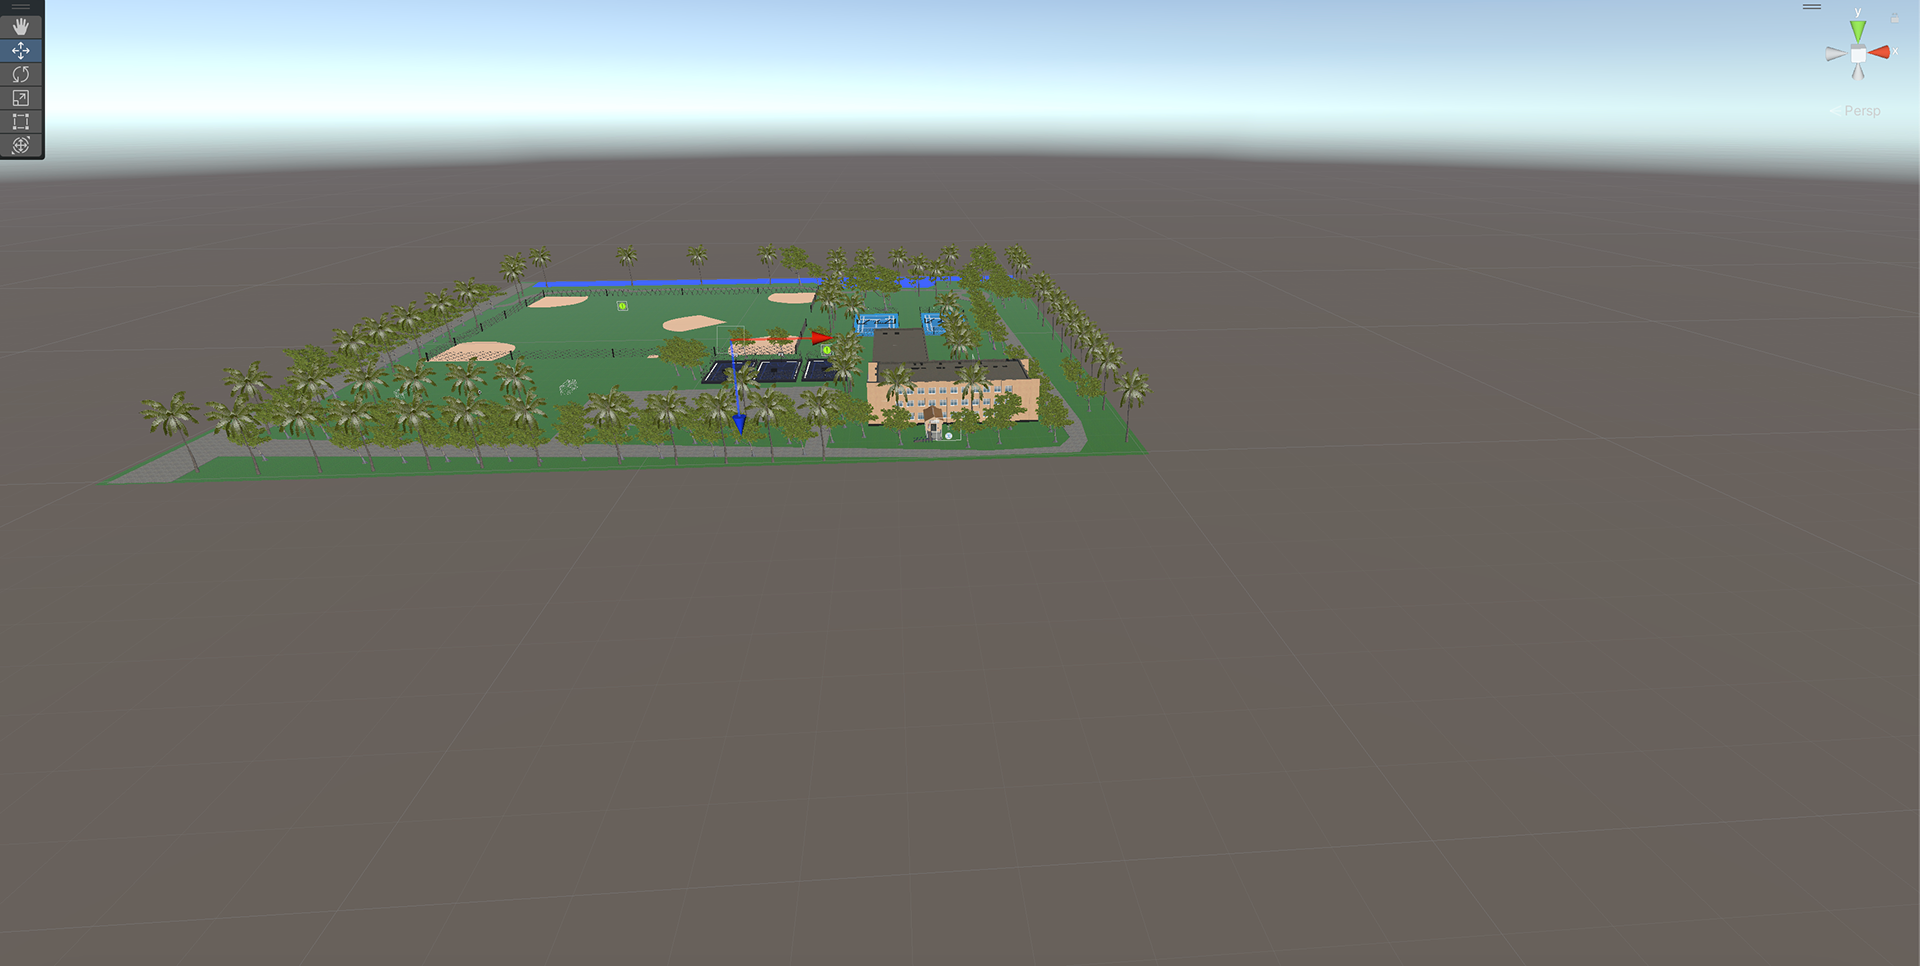
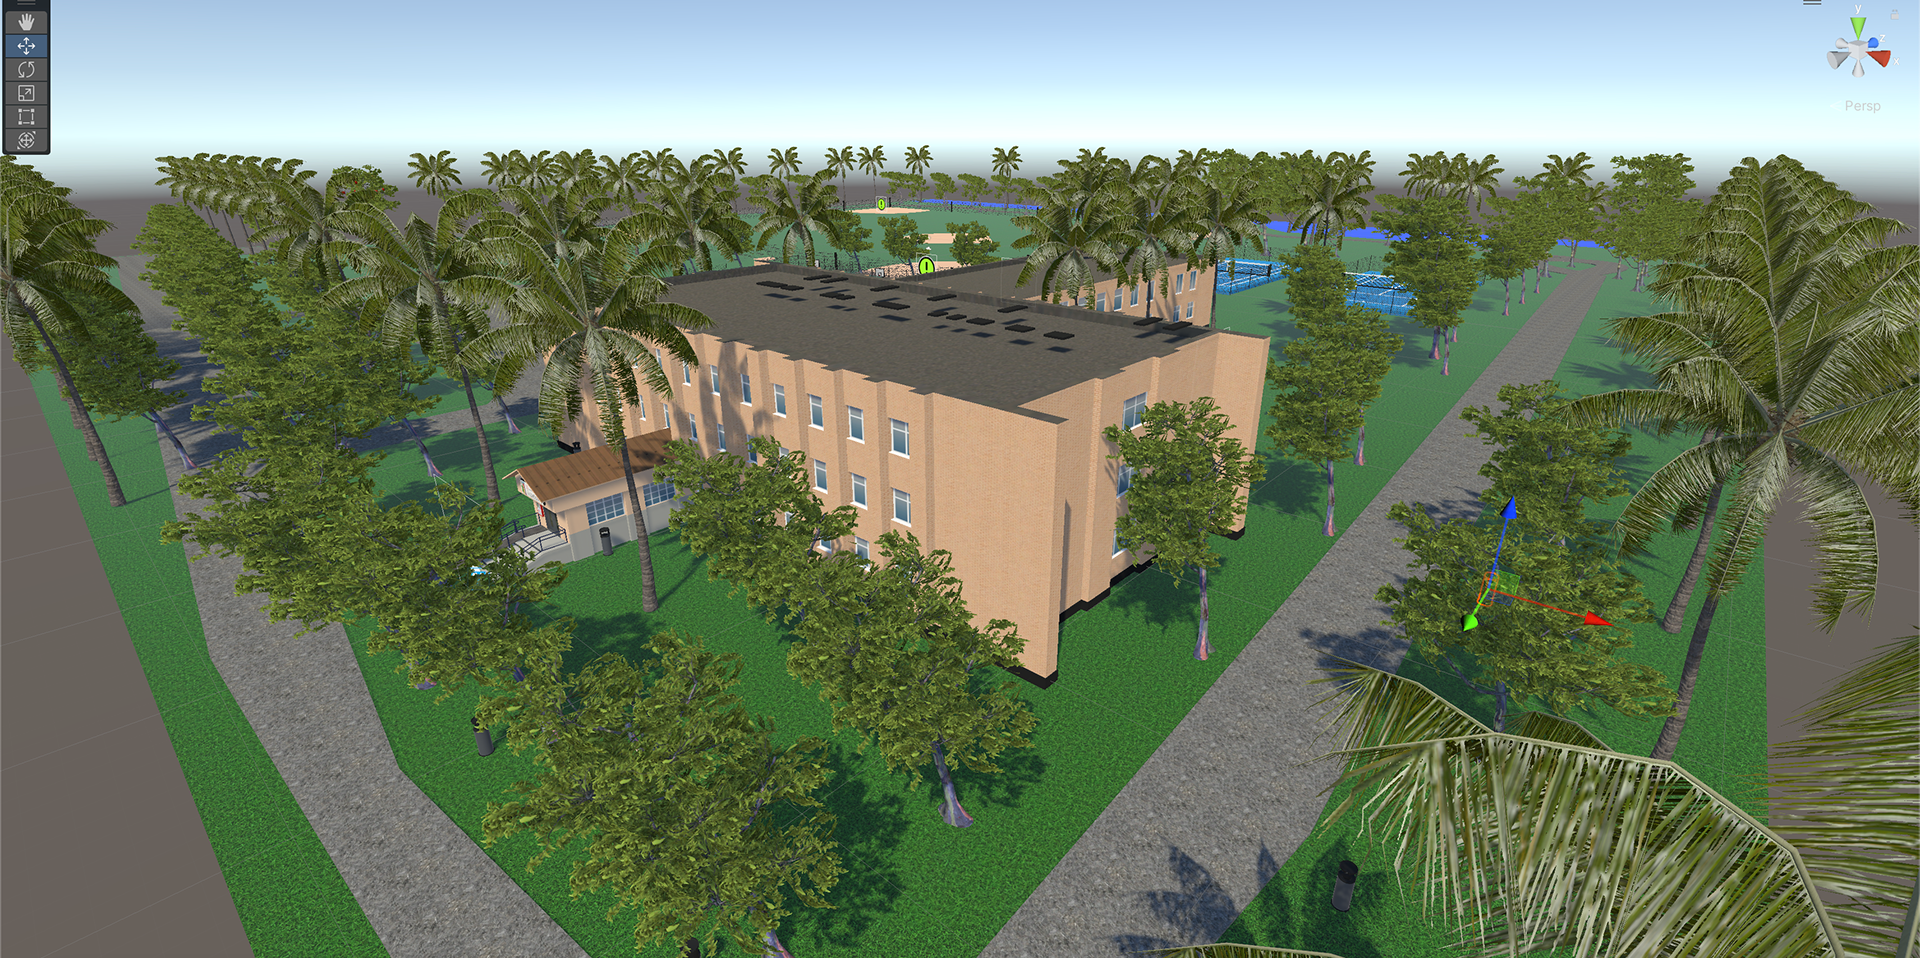
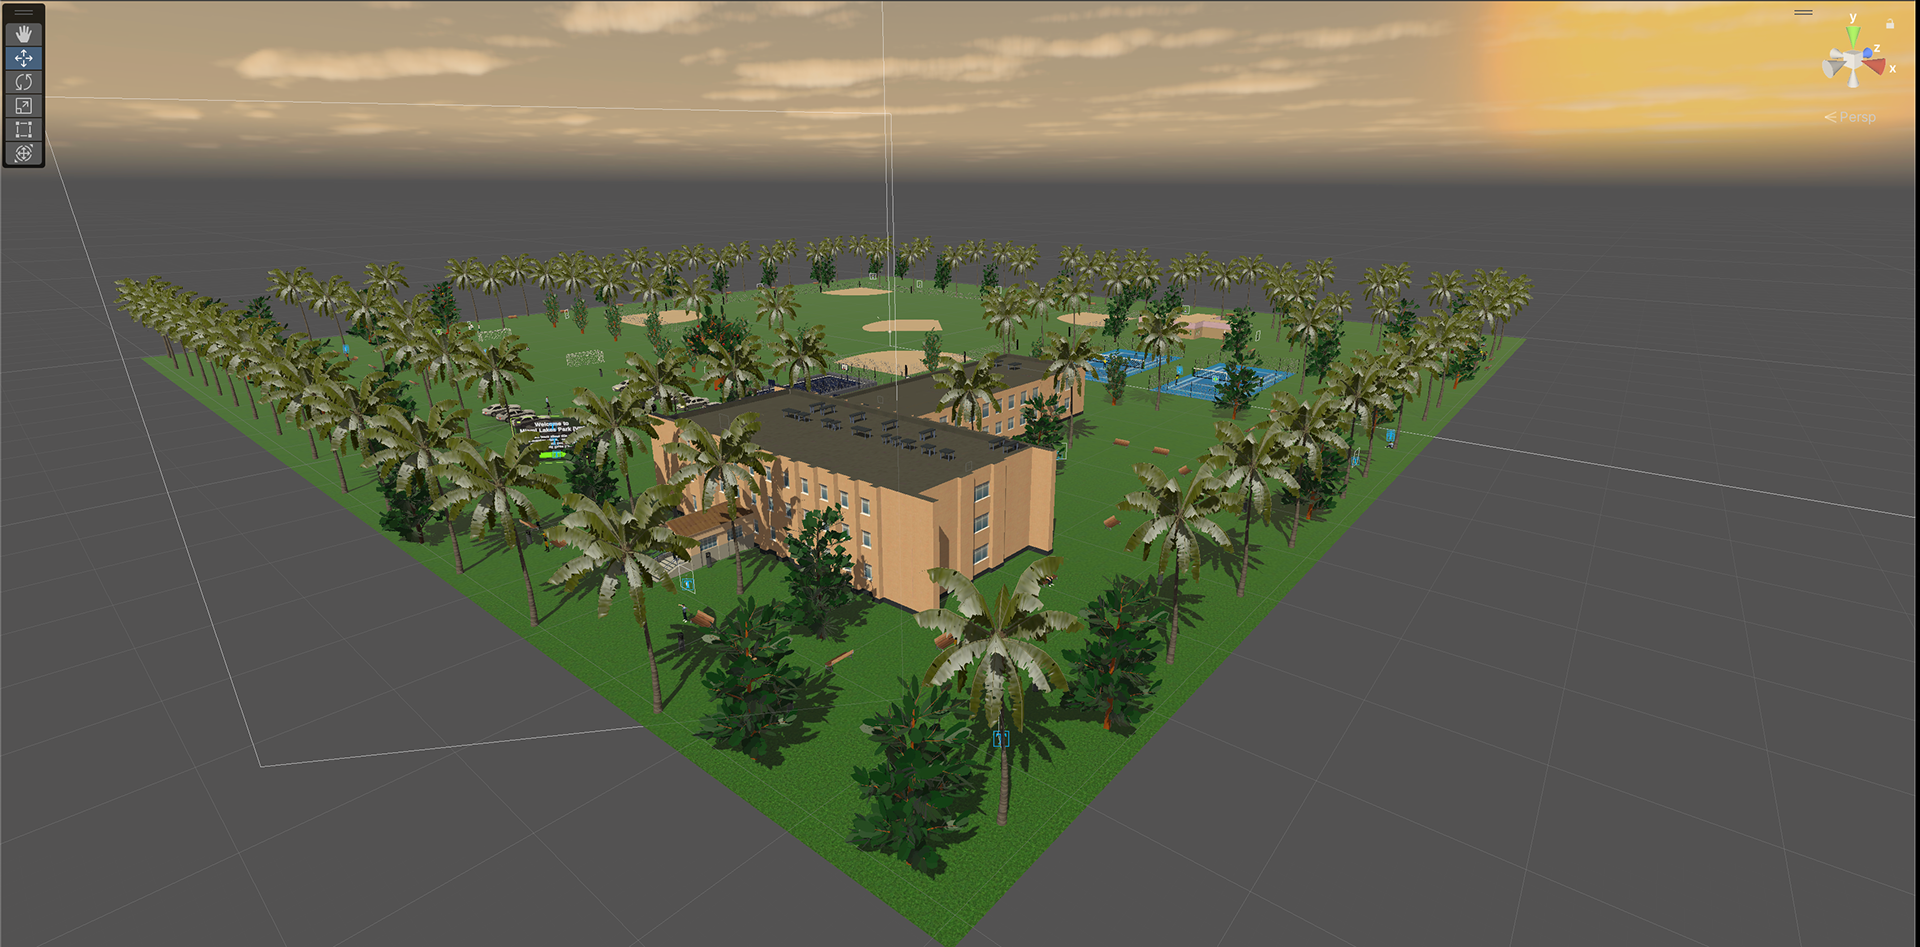
I decided to create this project from scratch. The digital twin is almost identical to the real-world Miami Lakes Optimist Park.
This park, alongside another park in Miami Springs hold a special place in my life, since I have been going to them since I arrived to the United States a few years ago. I usually go to either one on the weekend mornings before starting my day, and what I love is all the sport court amenities and variety of people that visit.
Equipment/Tools:
• Unity Game Engine
• Adobe Illustrator
• Oculus Quest 2
Interactive Components:
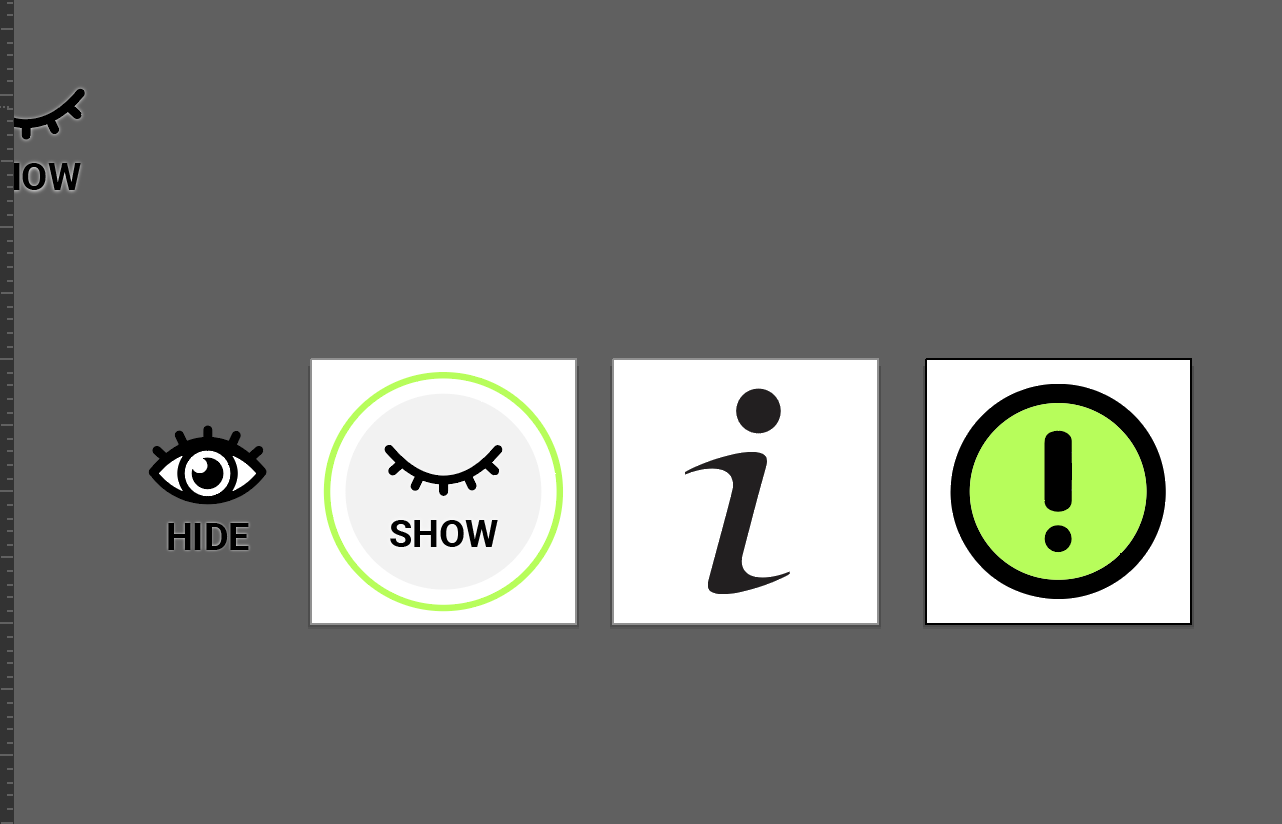
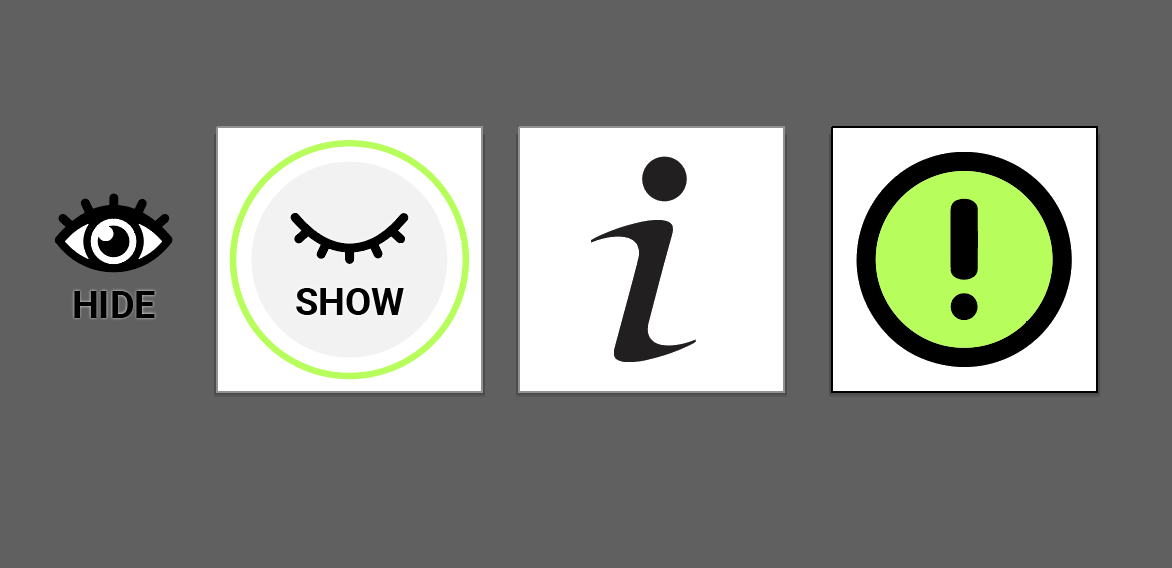
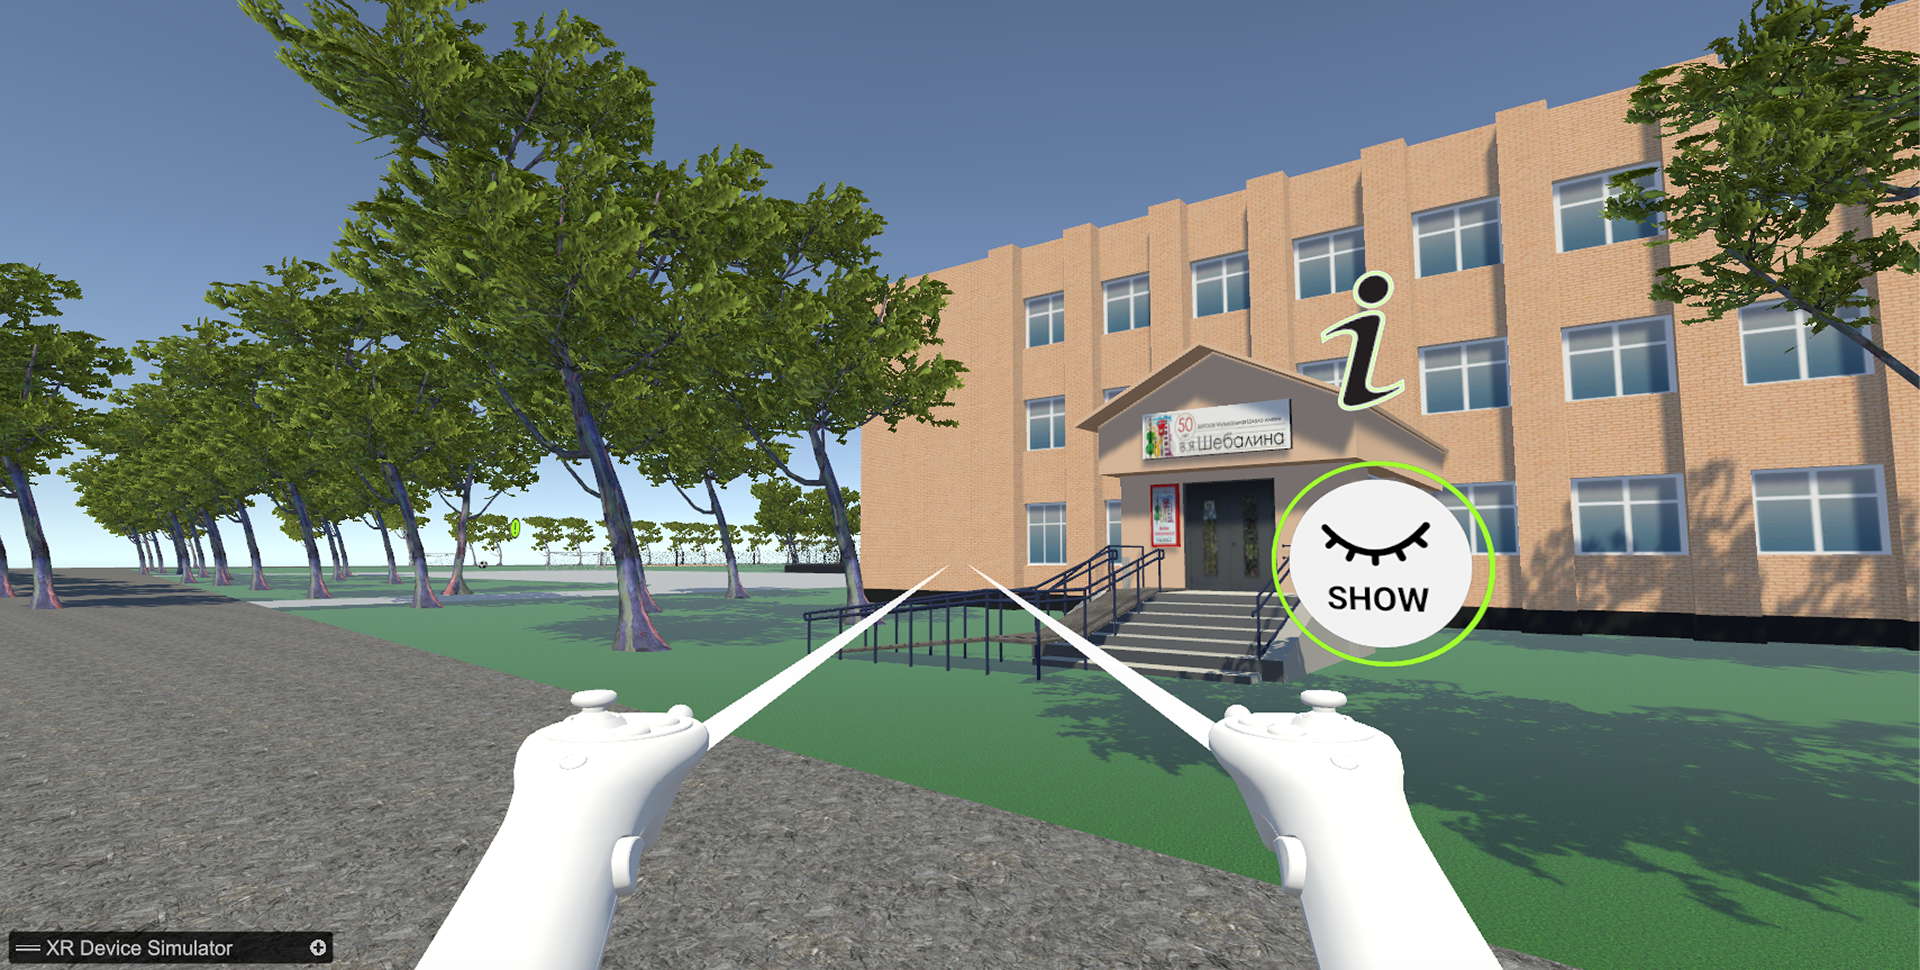
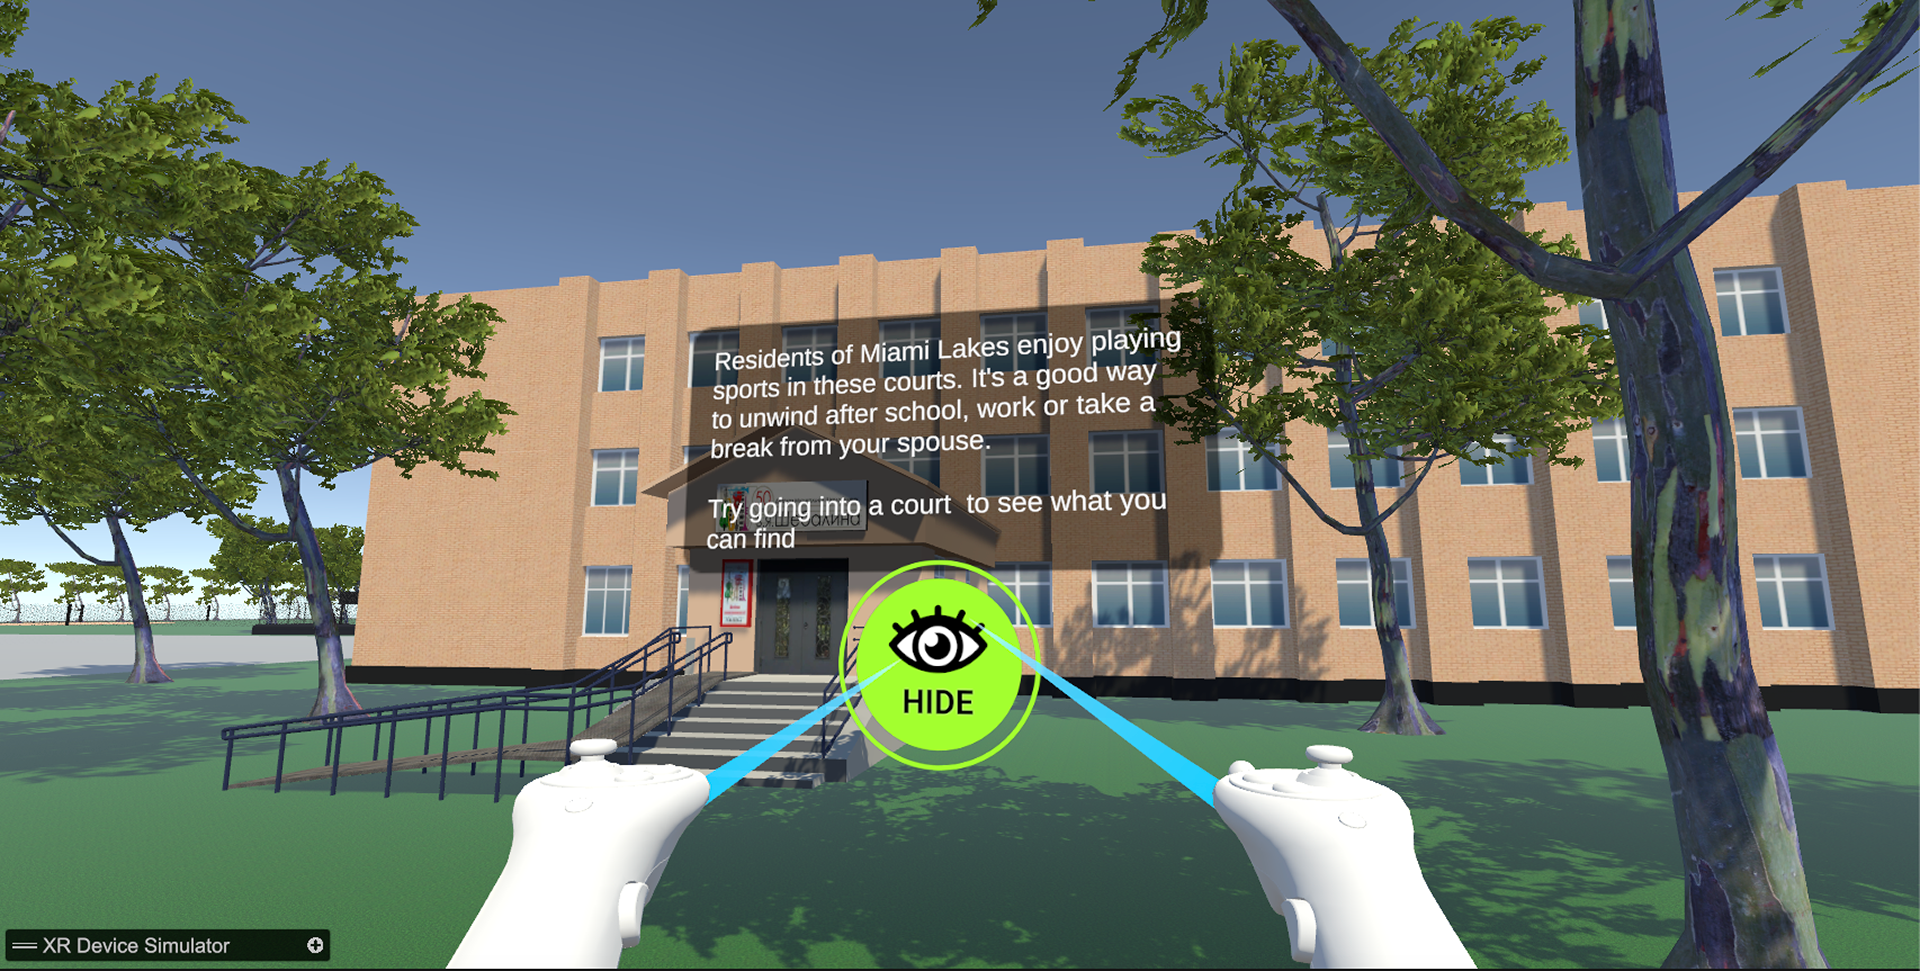
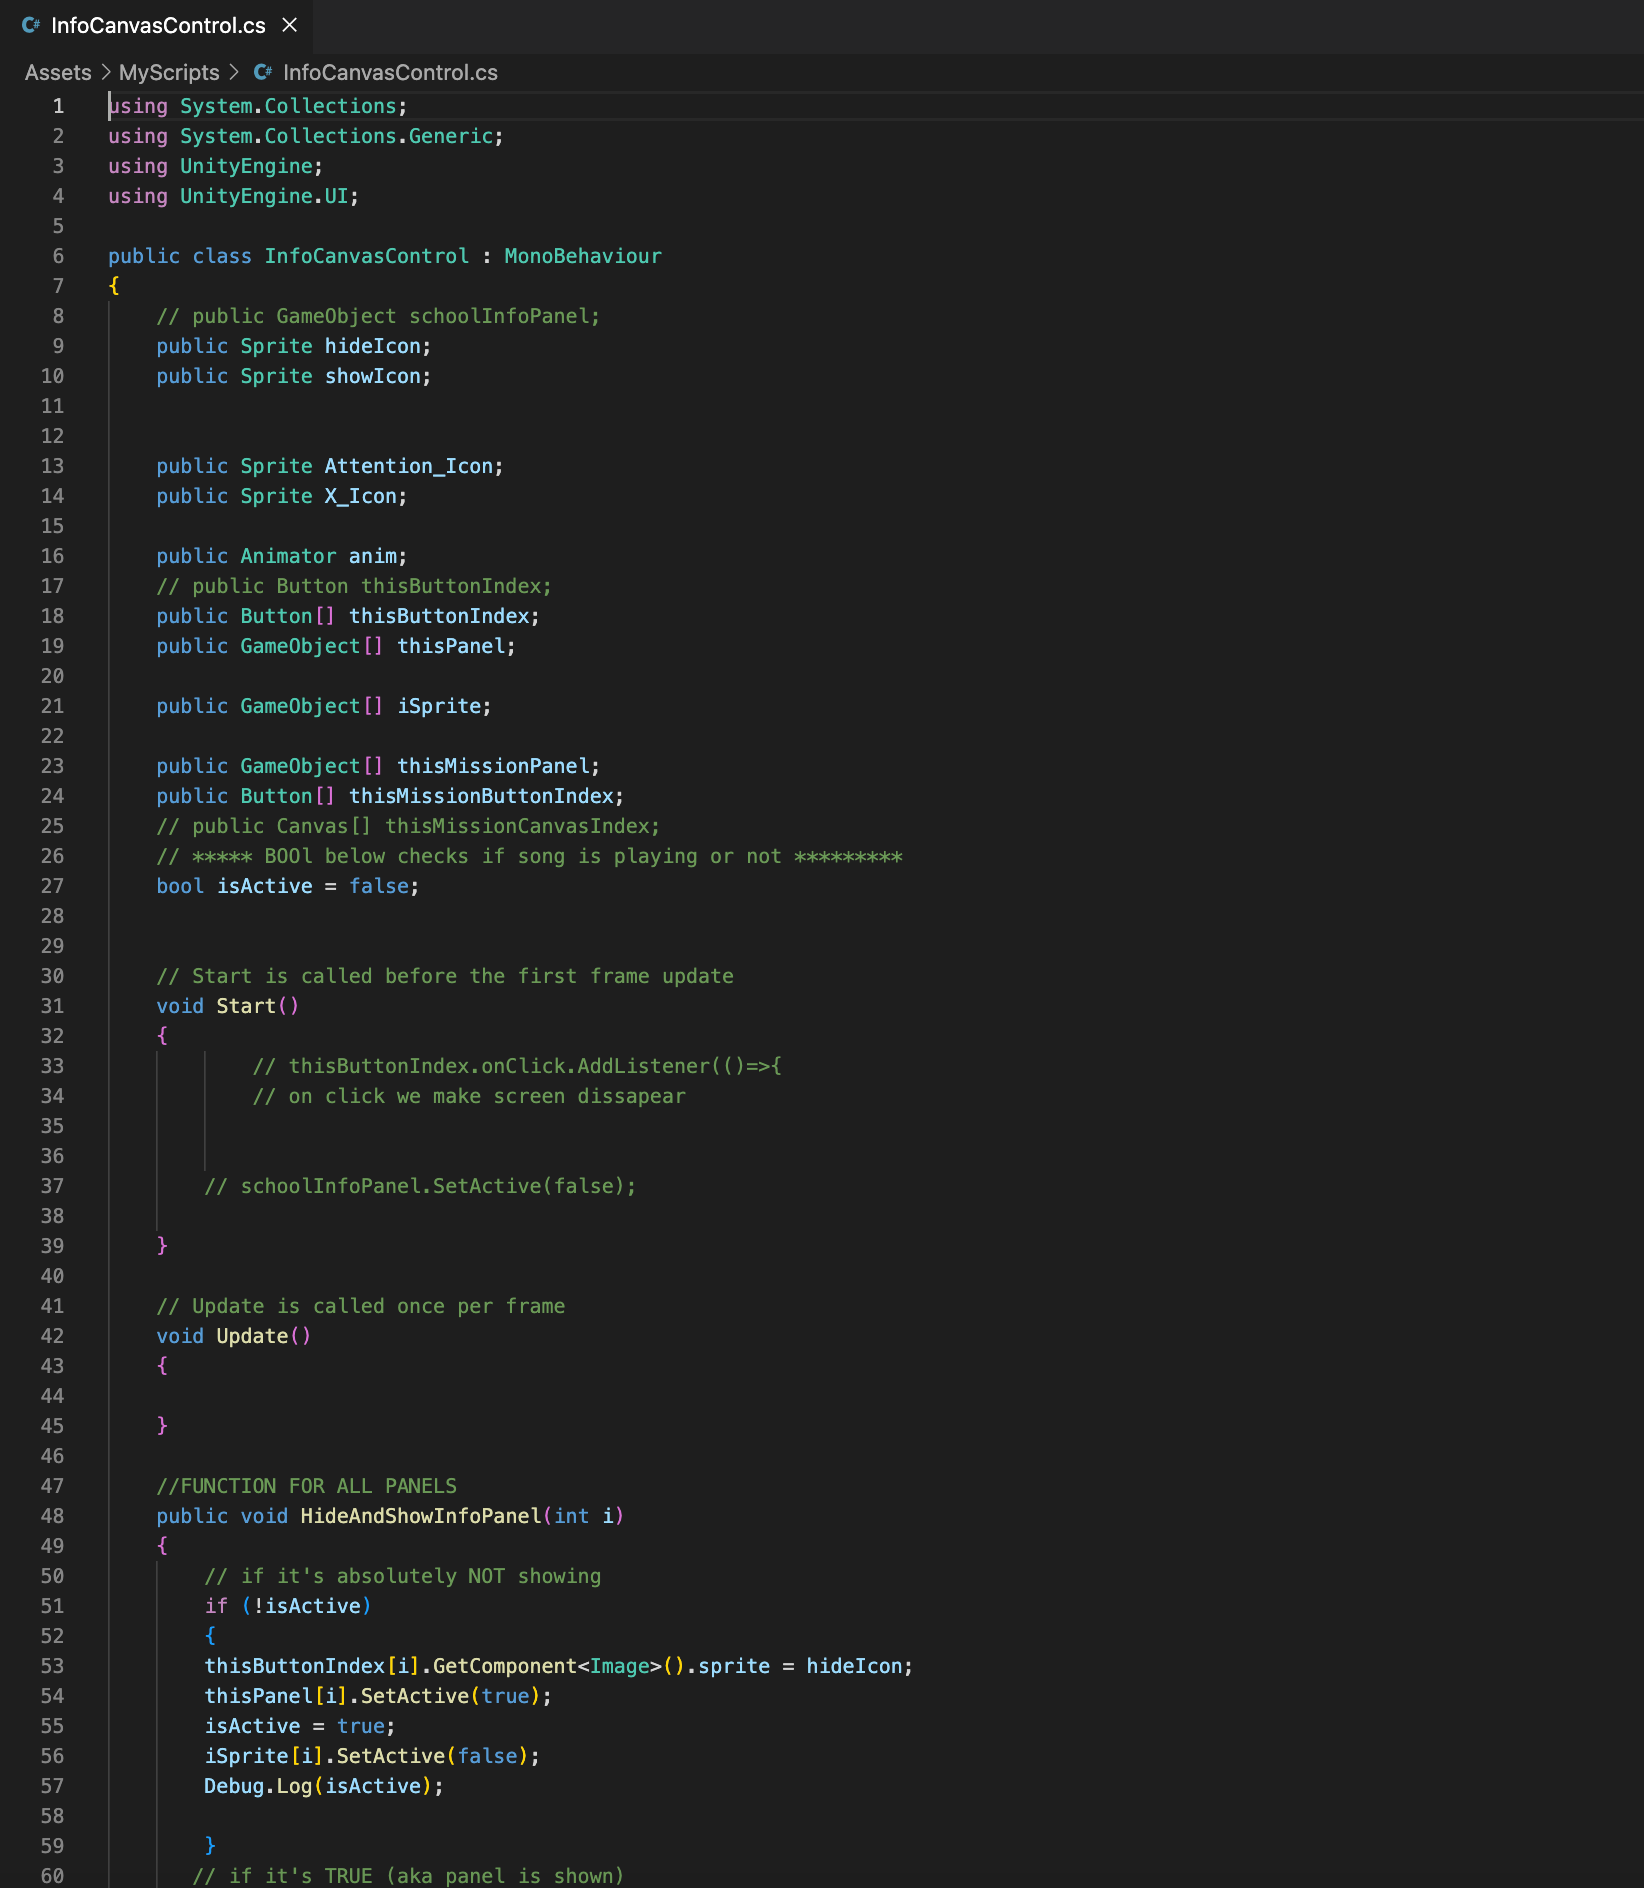
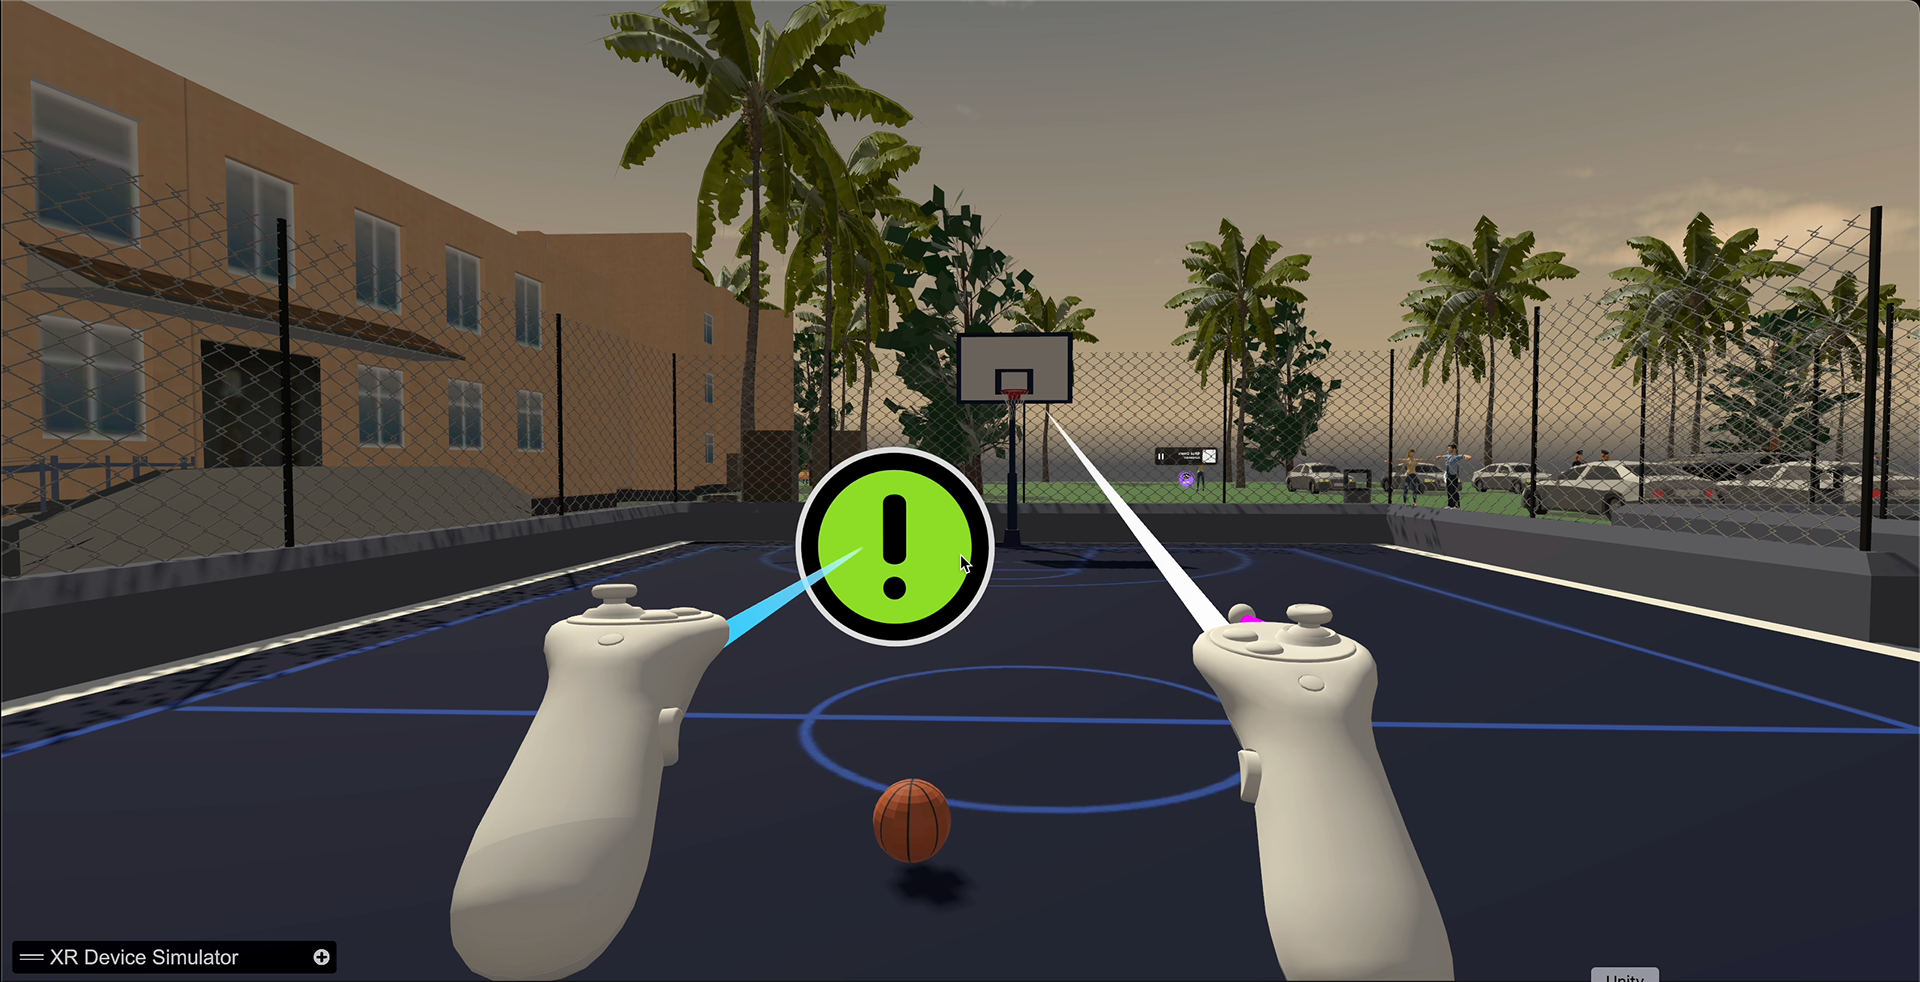
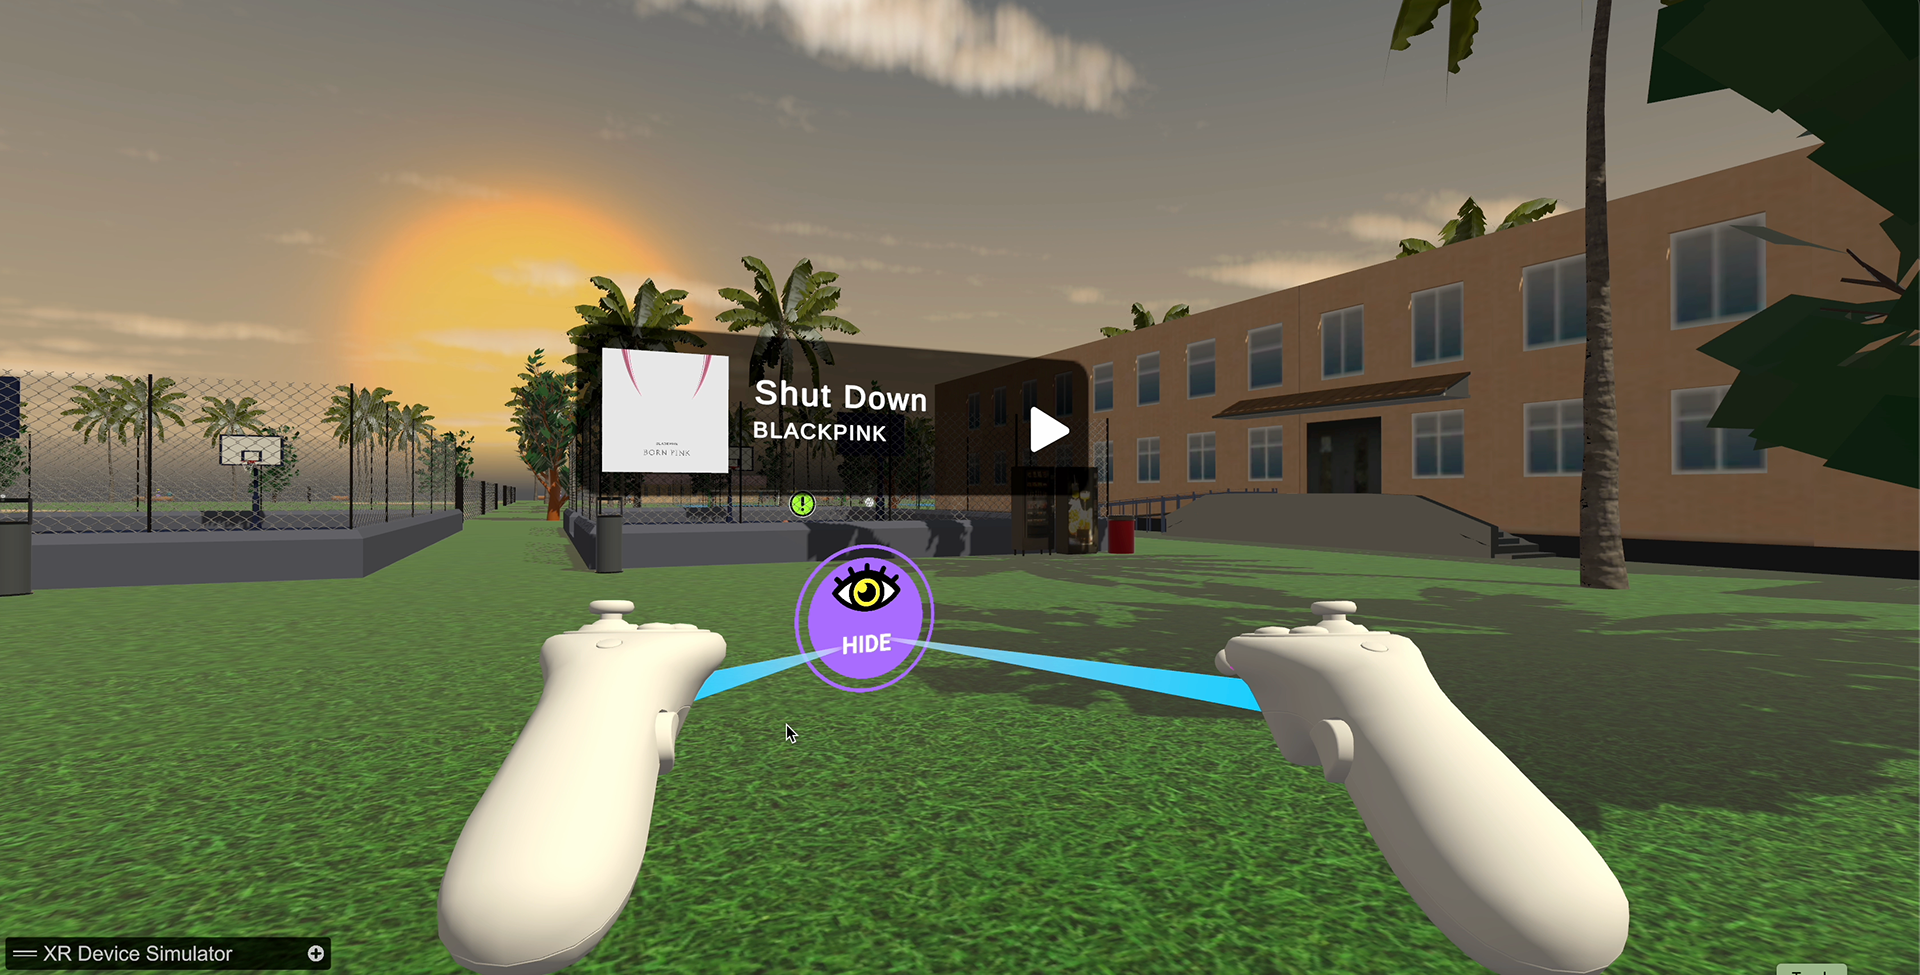
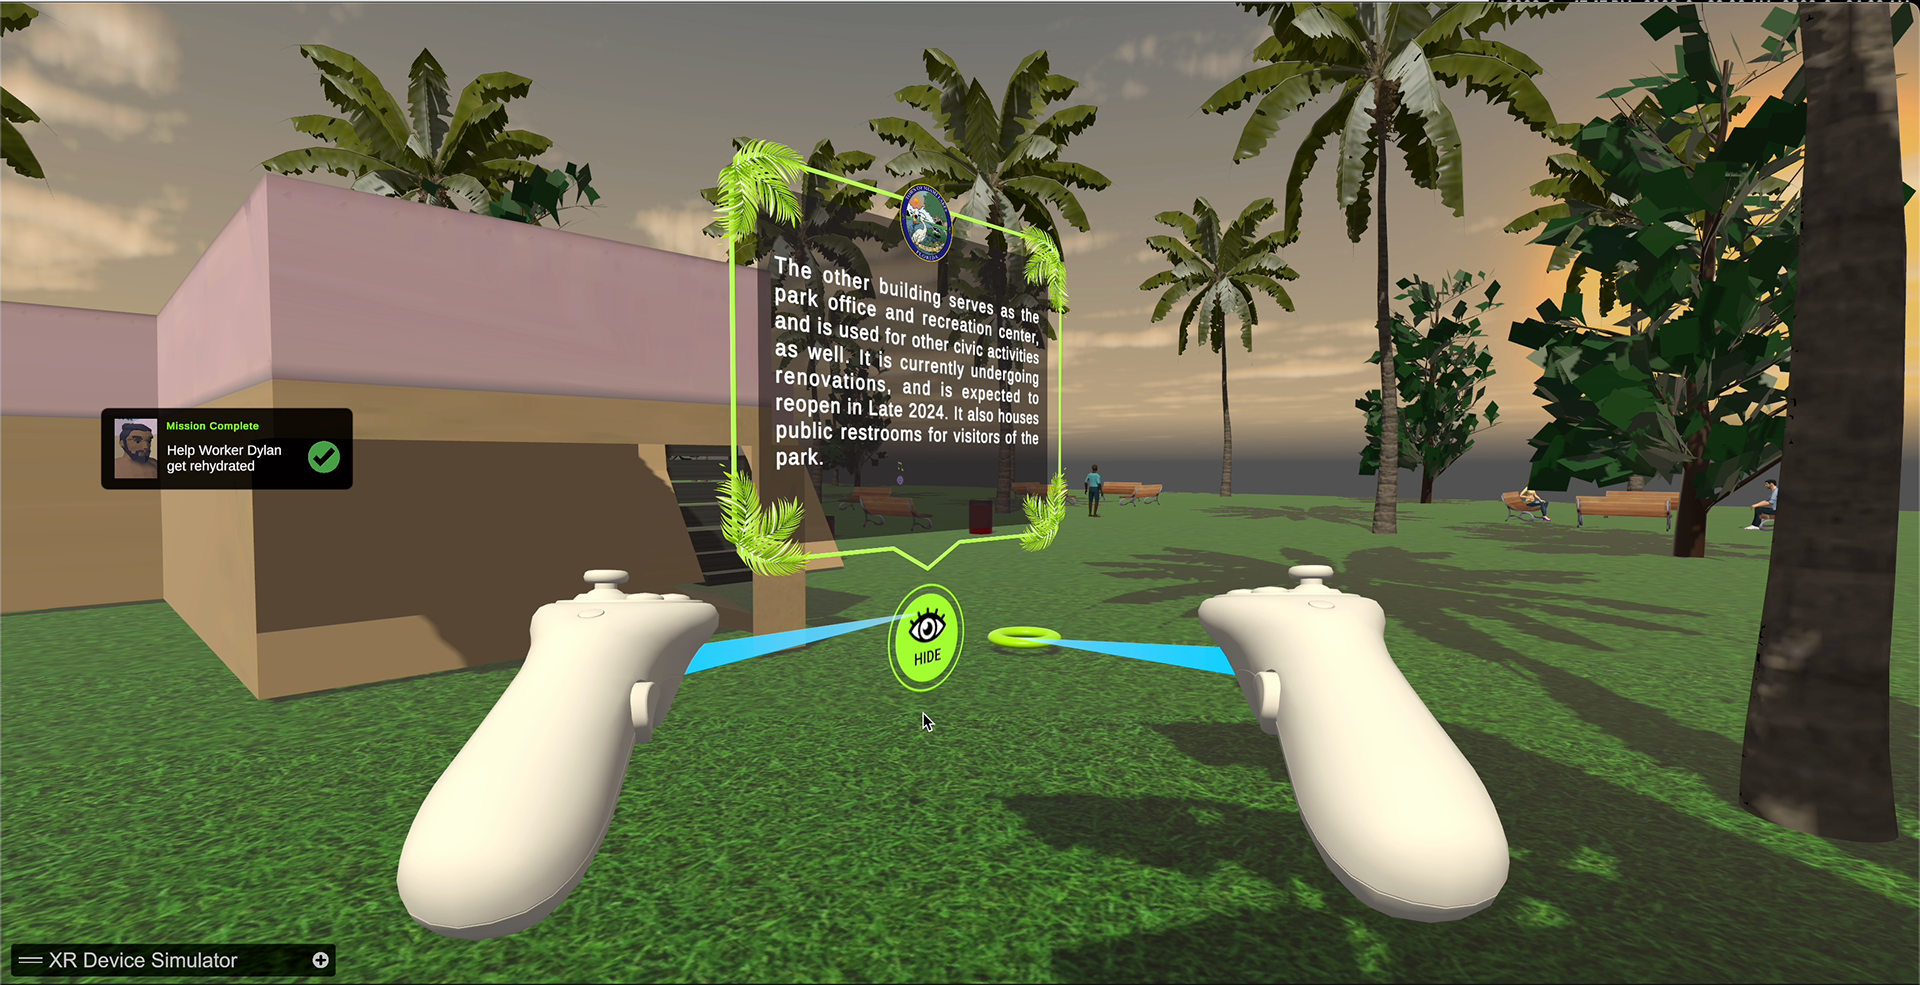
• Info Buttons (hide/show info panels)
• Mini missions that require player to grab objects and take them to certain people
• Grabbable objects such as balls, tennis racket, soccer ball, water bottle, apples, etc.
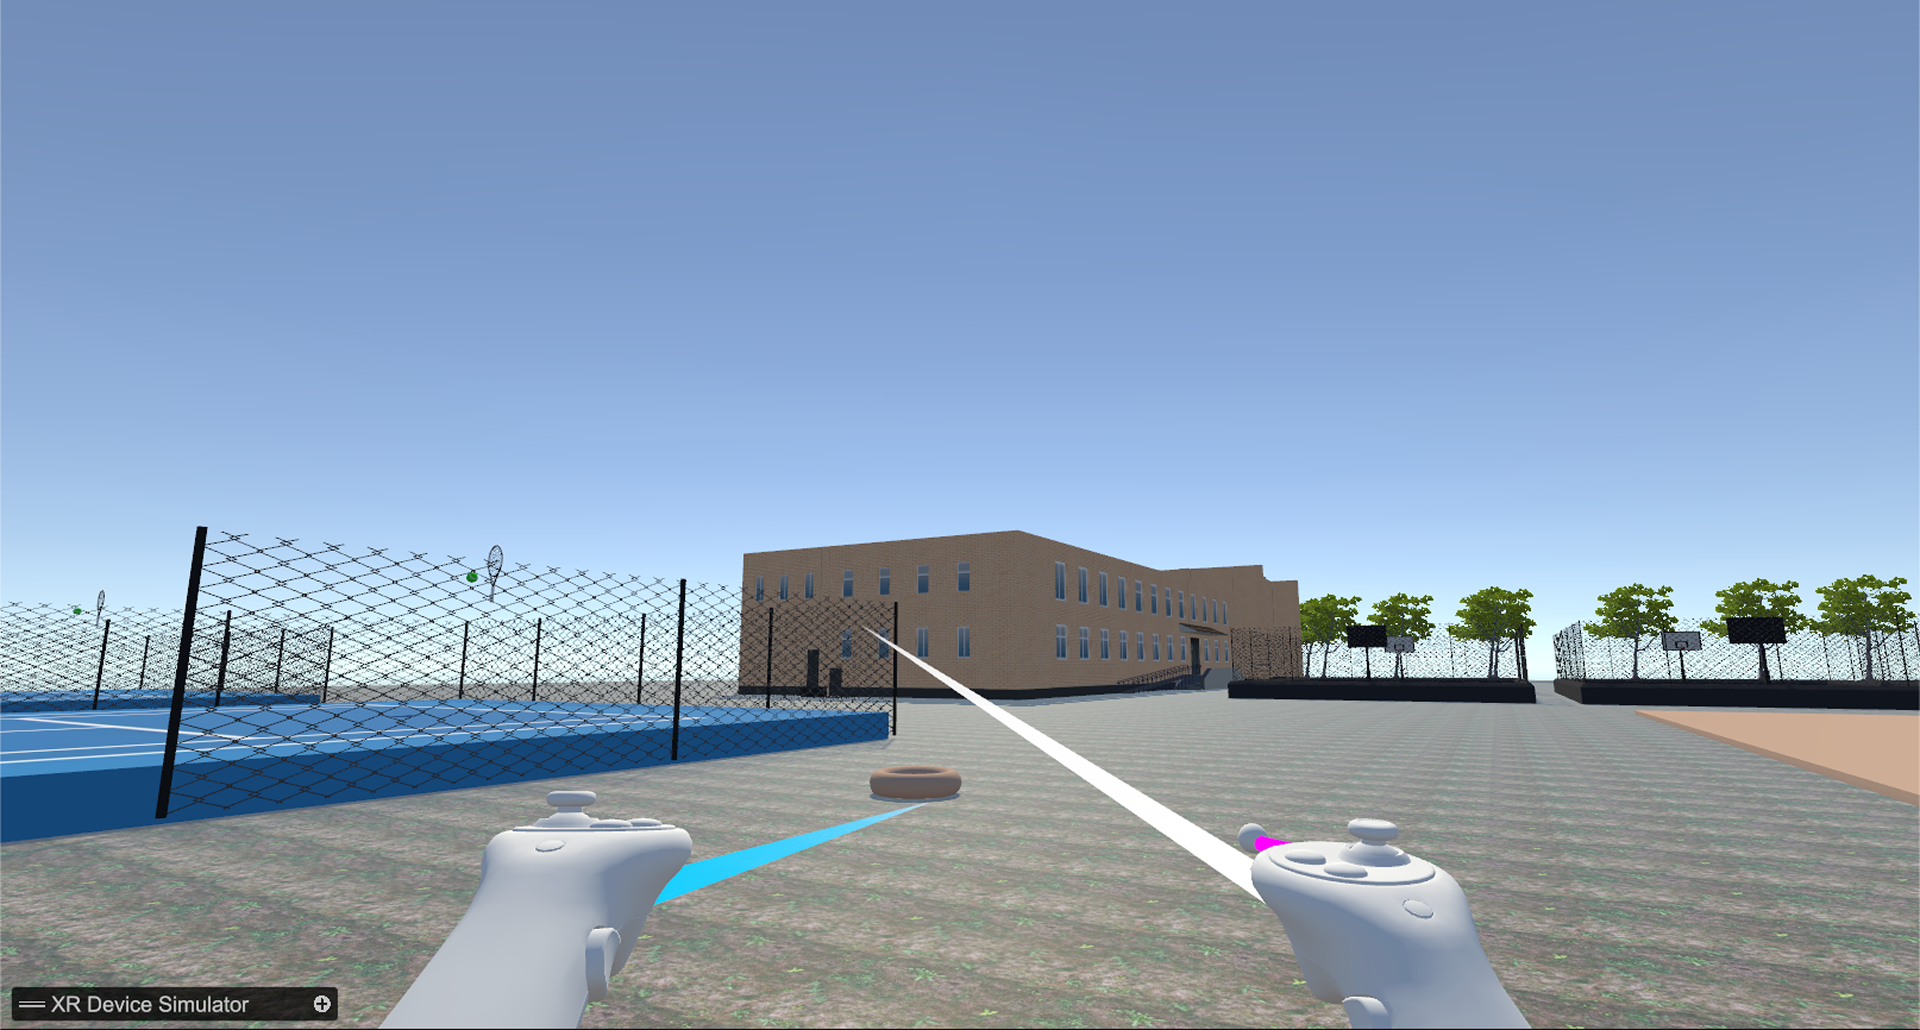
• Teleportation (AREA) I decided to allow user to freely explore the park and with the ability to skip with the teleporting area, rather than using teleport anchors (with a countdown) - that didn't seem go fit my park idea
Challenges:
1. Sometimes when objects were grabbed, even with the gravity toggled on, they would still float around
2. When deploying the project unto the Meta Quest, there was lag and stuttering glitch effect, that I had a hard time trying to solve
3. Another 'challenge' I faced was trying to come up with revenant interactions at the park, since I knew storytelling played a role in this assignment, I didn't want to just add random playlists, or things that did not seem adequate for a day at the park
Solutions:
• Used a script called 'playlist.cs" to control the songs
• Used a single function and assigned it to each button
• Used a custom script to make sure player could move across scenes
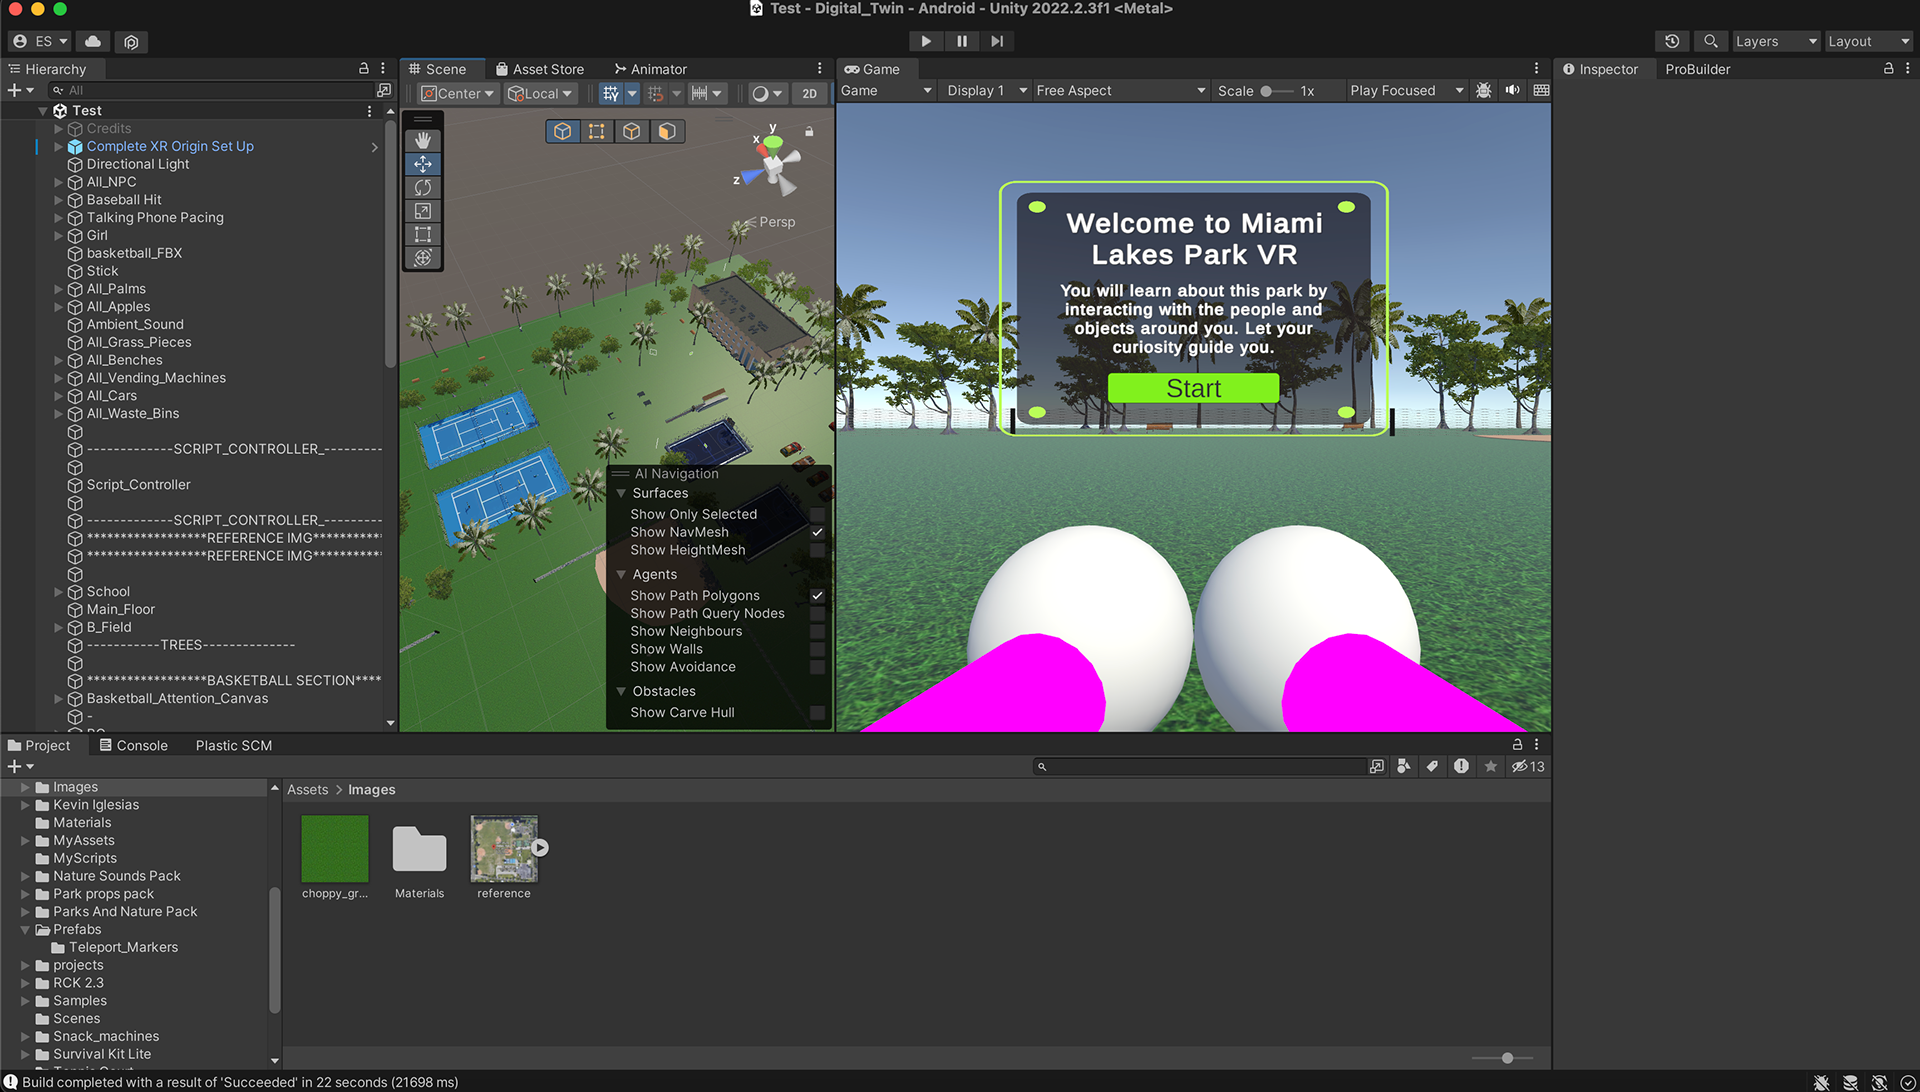
Story Flow
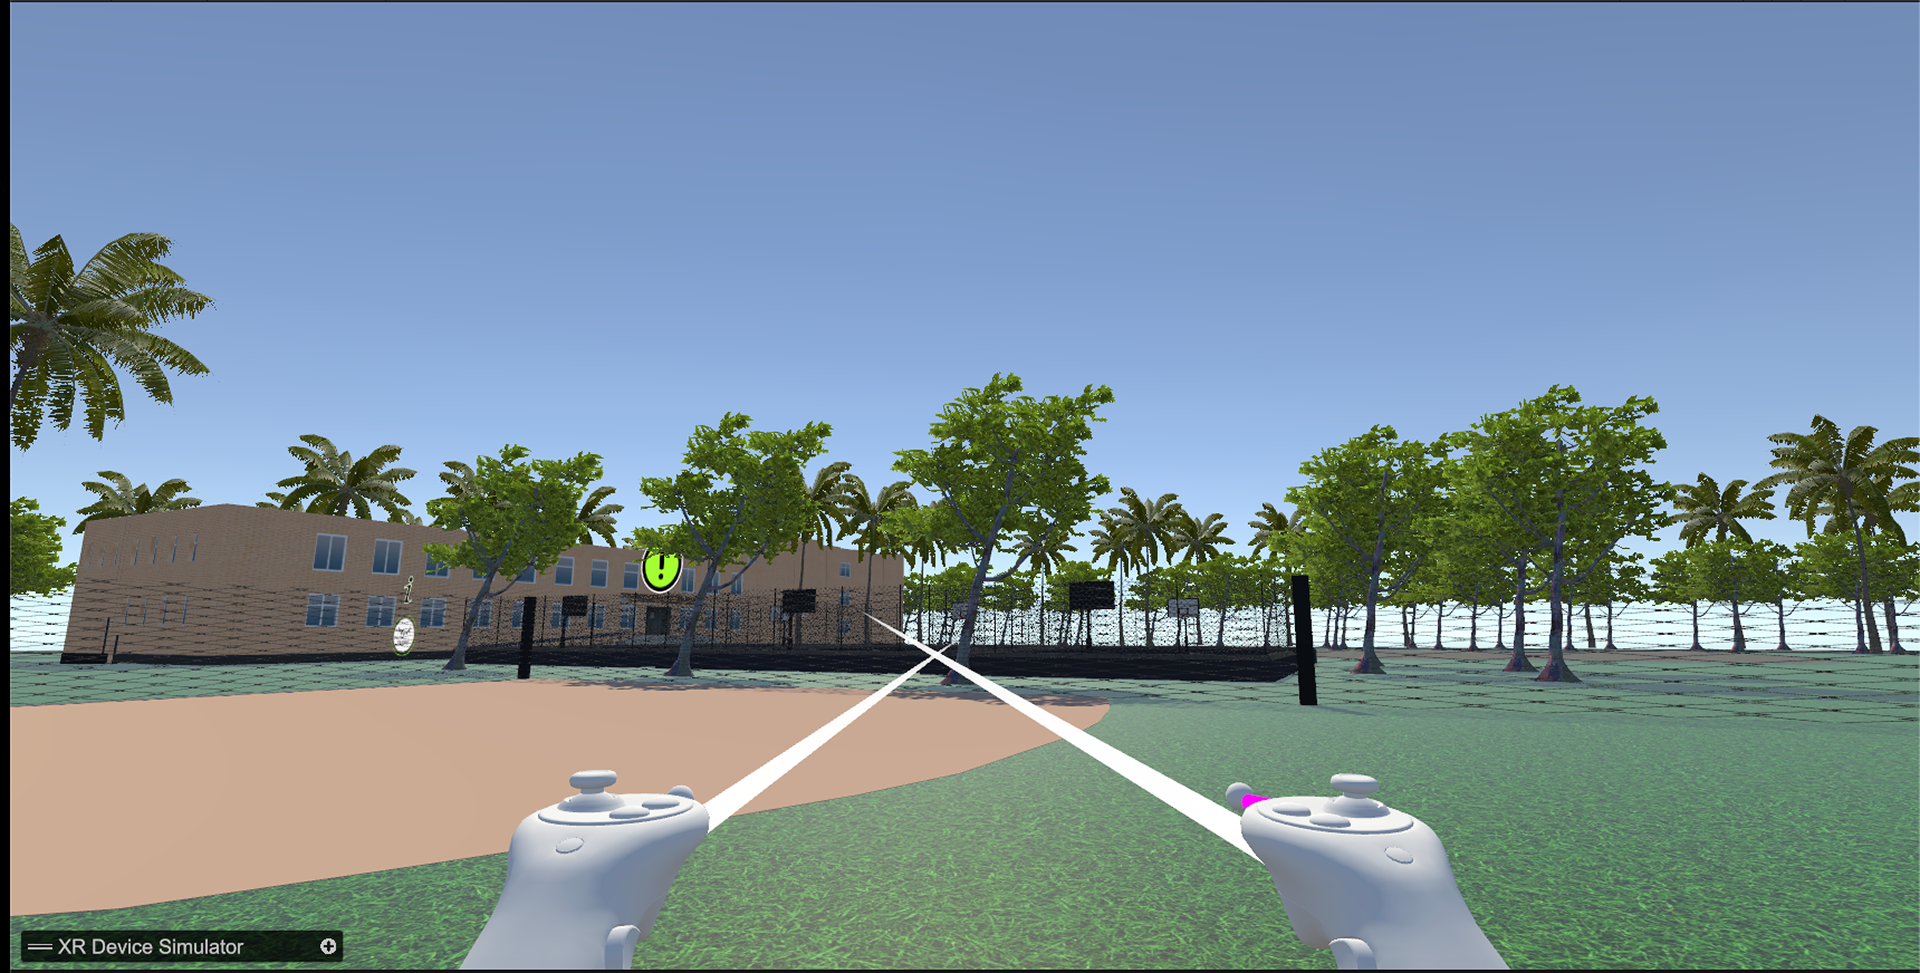
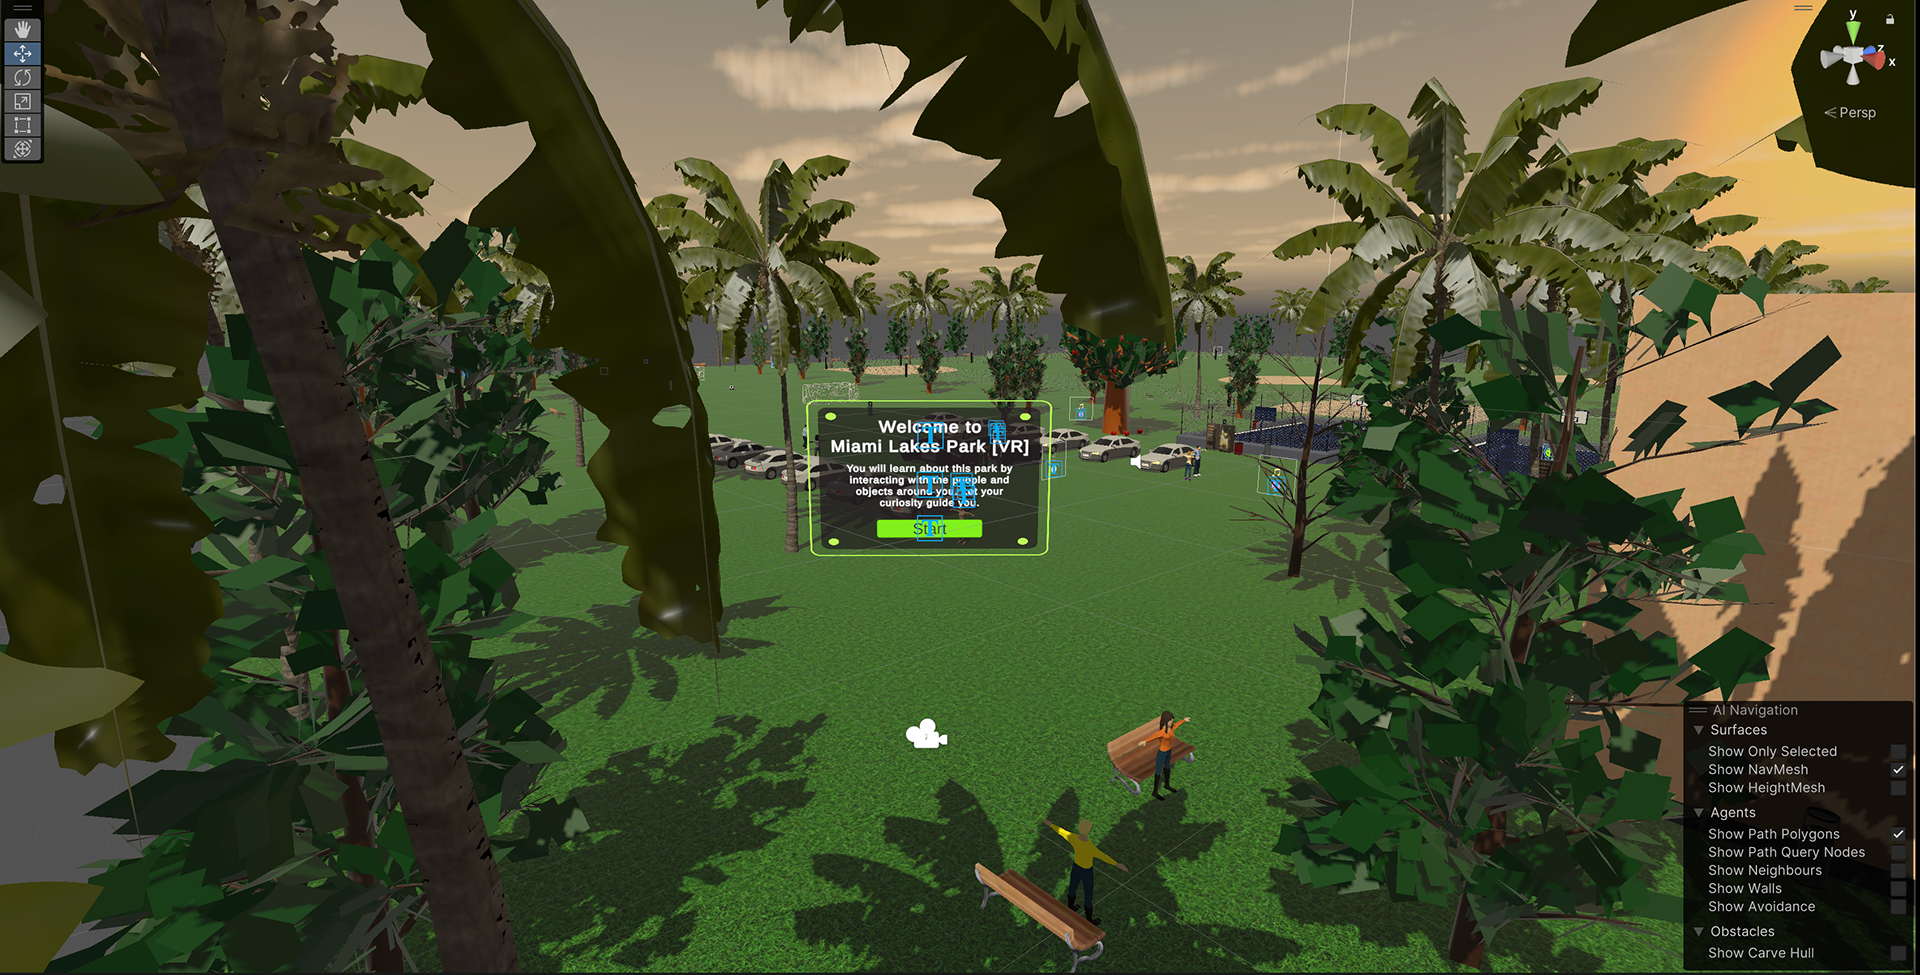
• The player starts in the middle of the park (near the soccer field) and they are greeted by an intro panel that explains to them what they can do and where they are
• The player then explores the park and in order to learn more about the park, they can interact with info panels that can be hiden/shown on button click


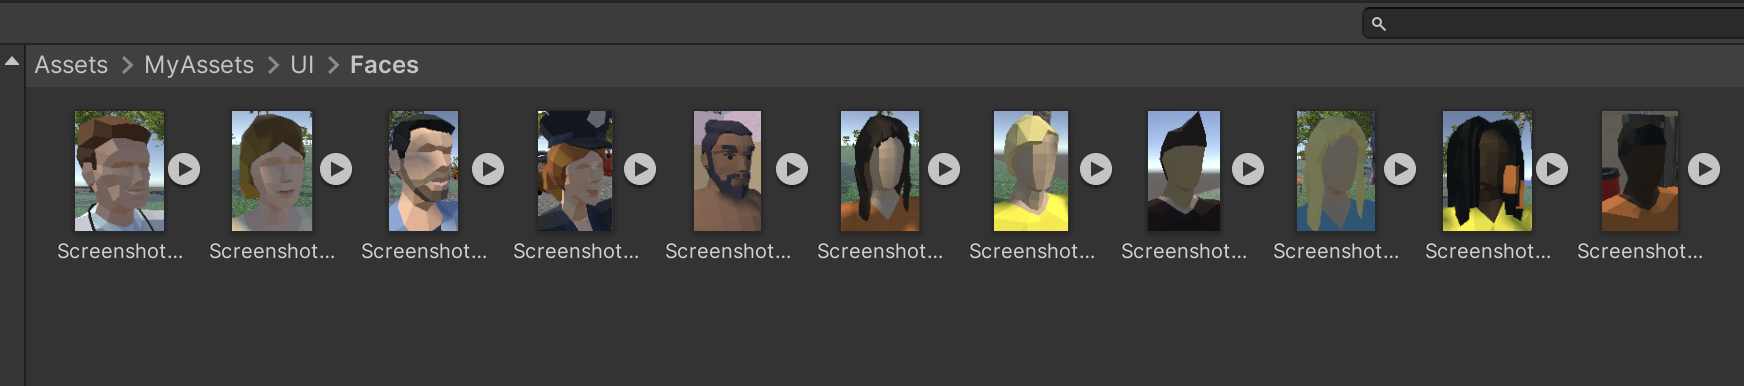
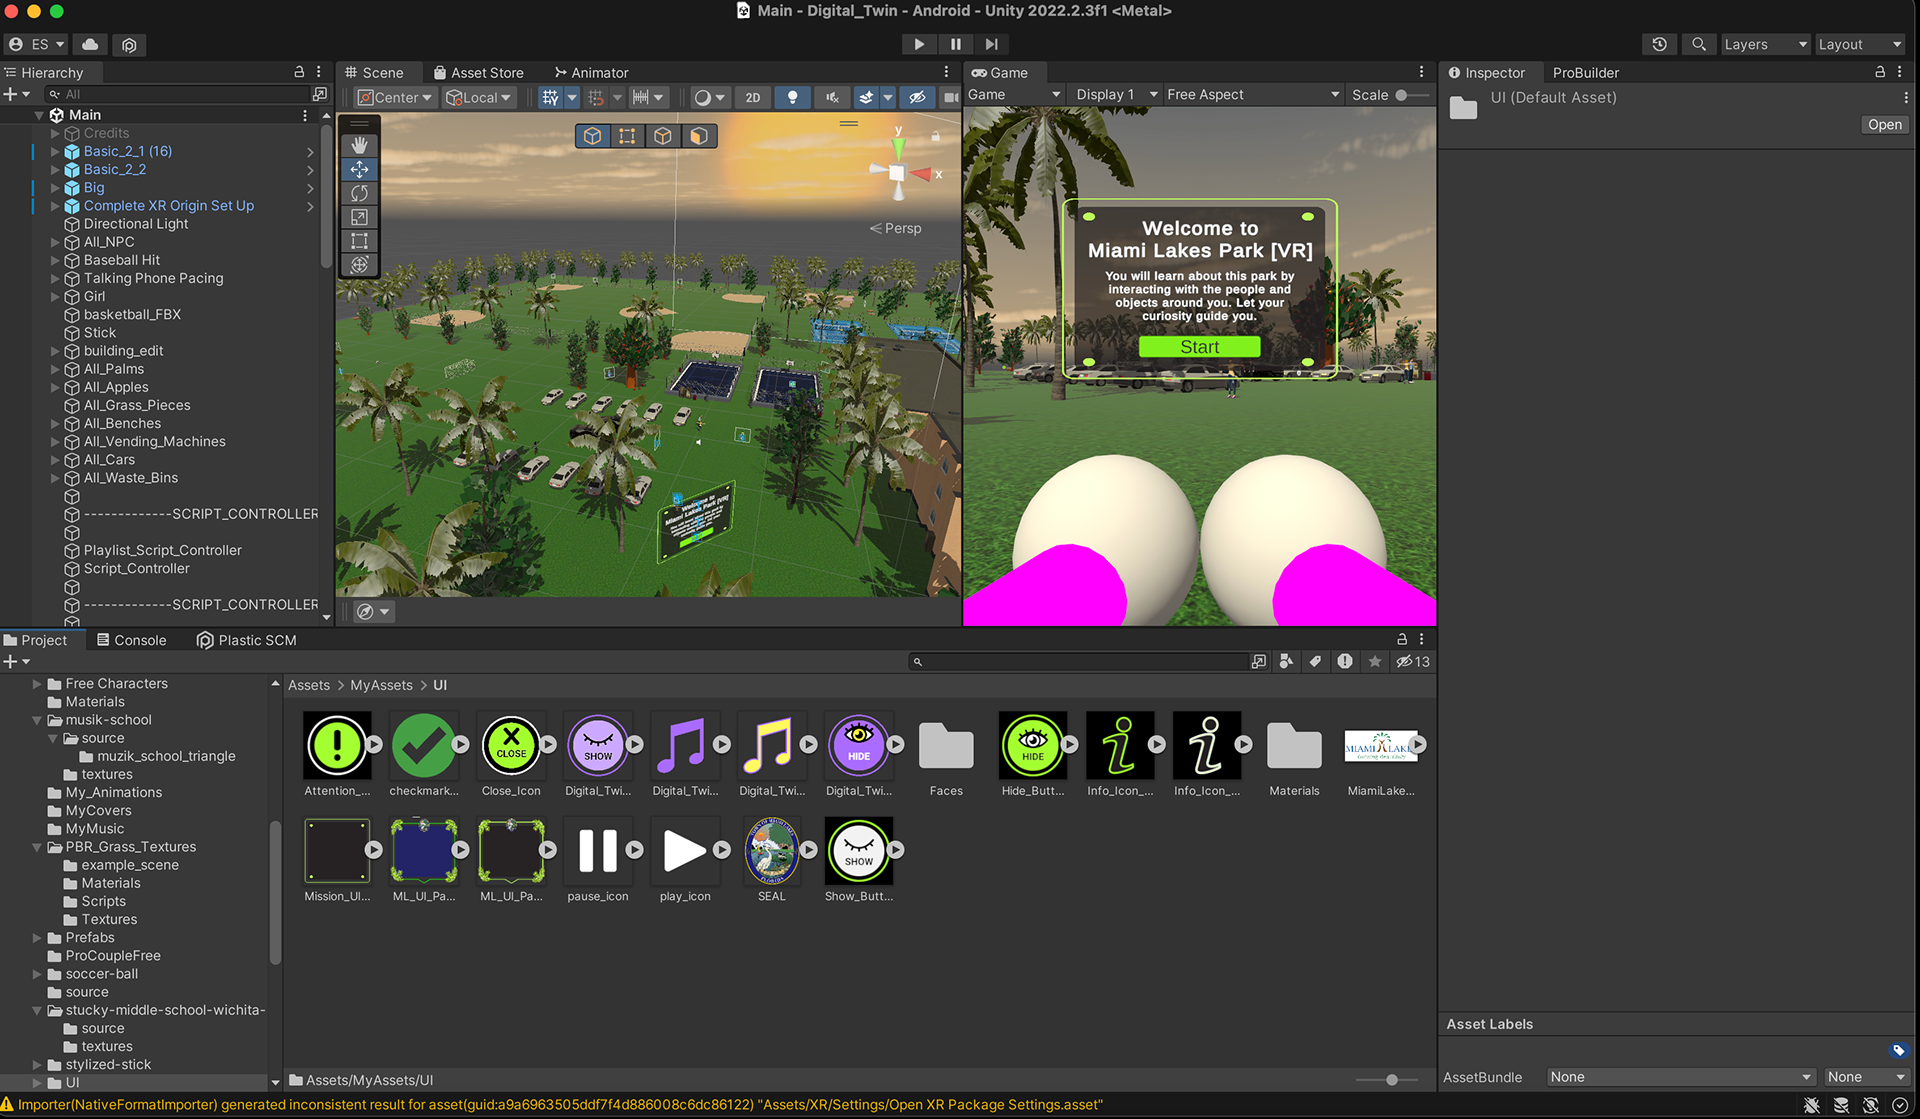
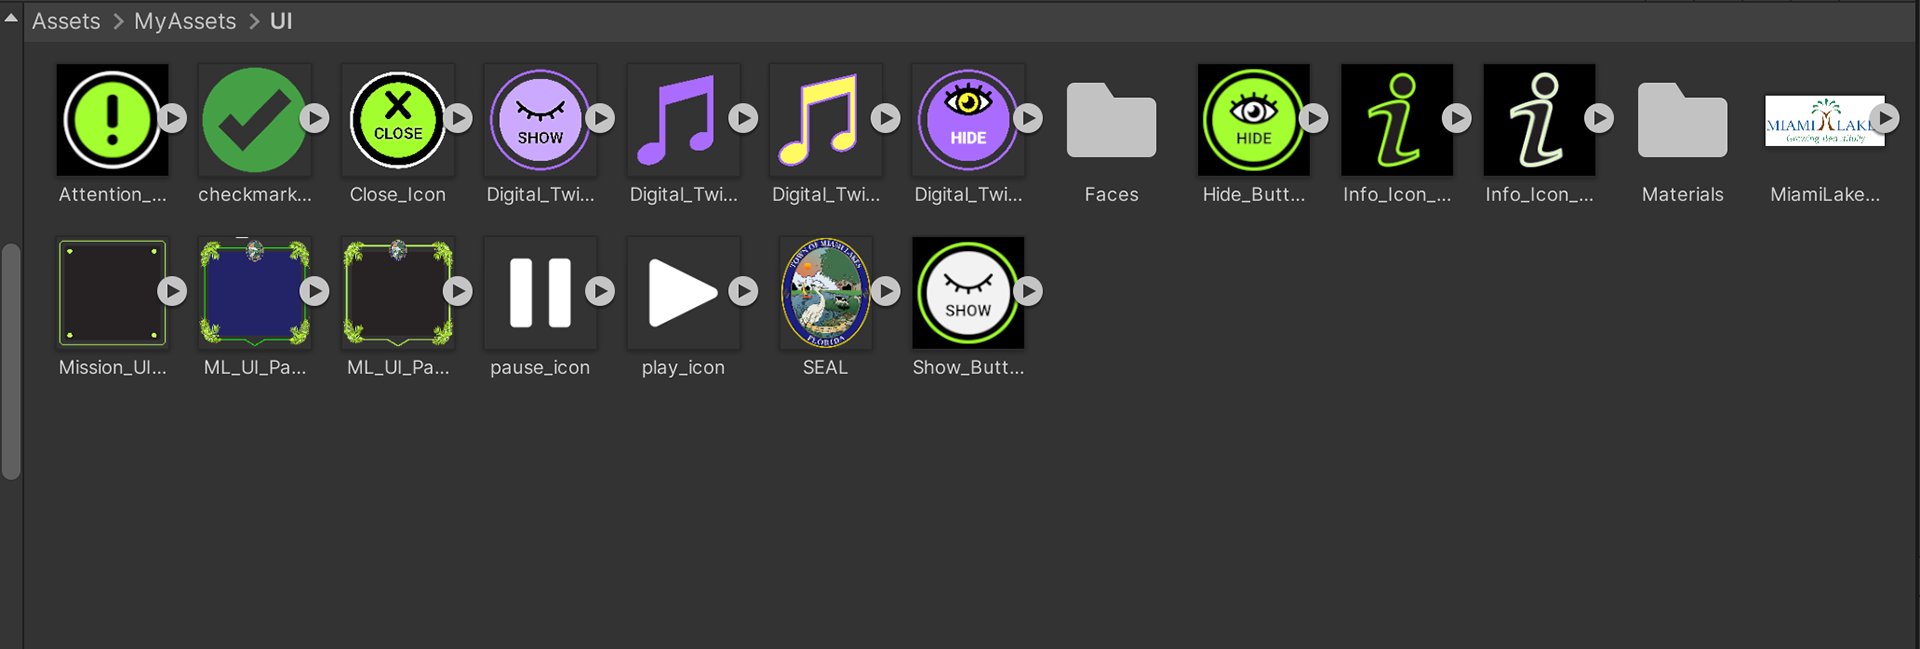
Creating my own UI assets
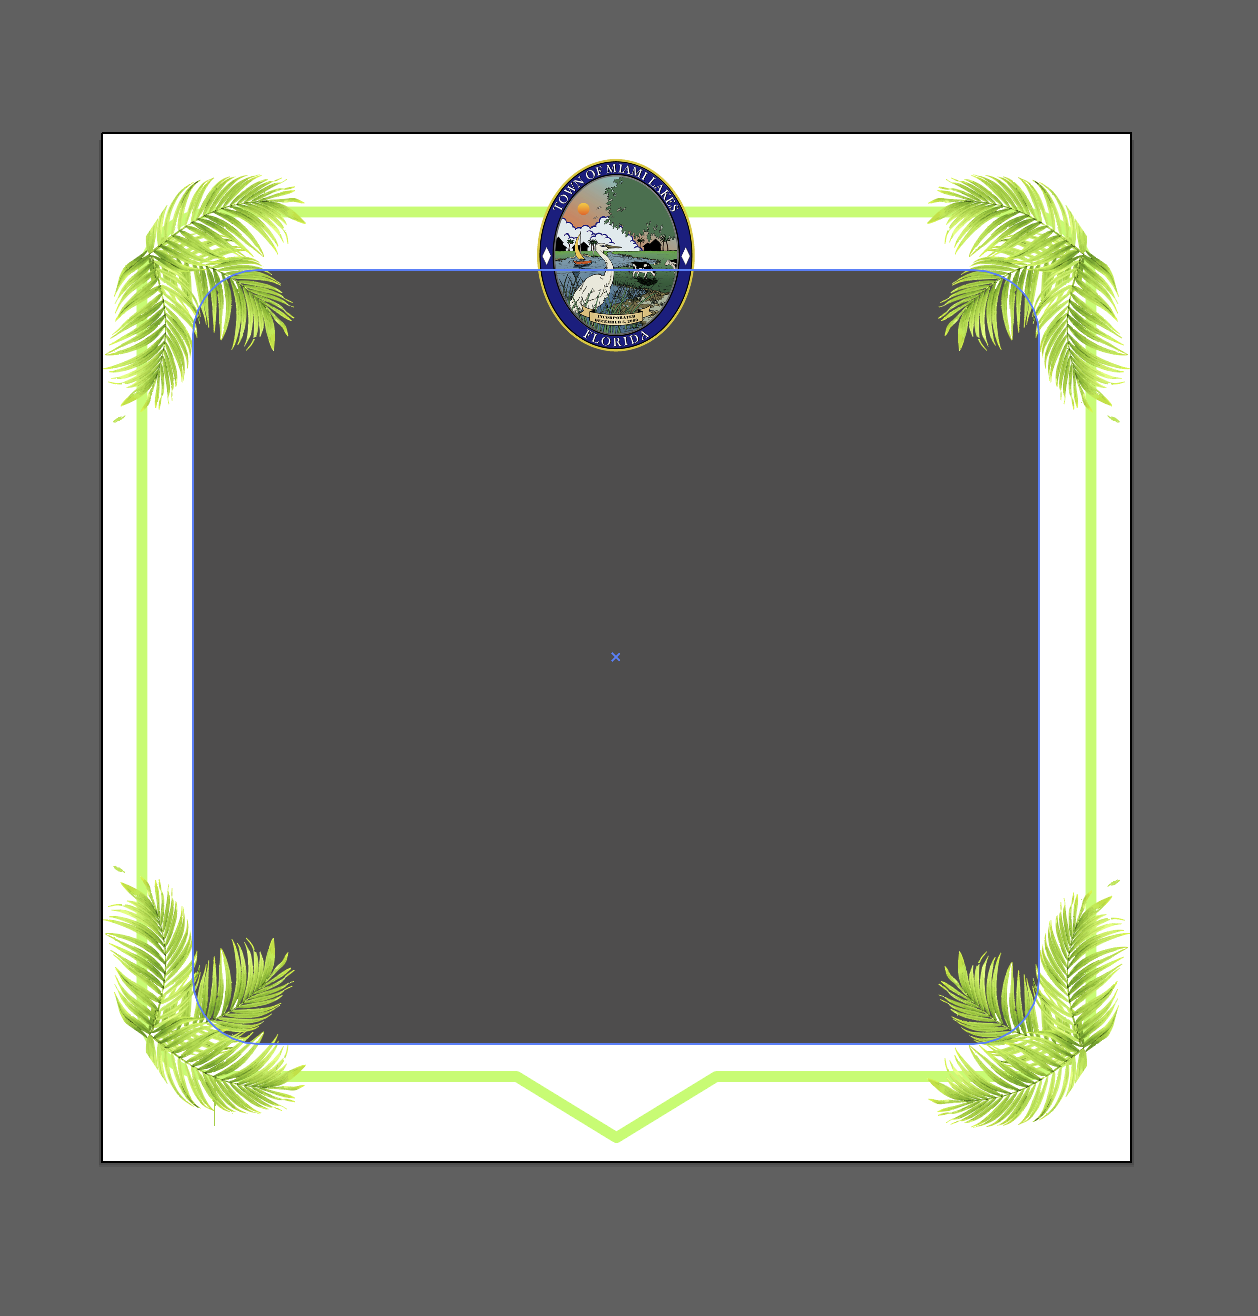
I always like to create my own UI, and for that I use adobe illustrator to create icons, button states, and UI panels that I then export as PNGS into Unity.
See below for screenshots of the behind the scenes of my UI assets:


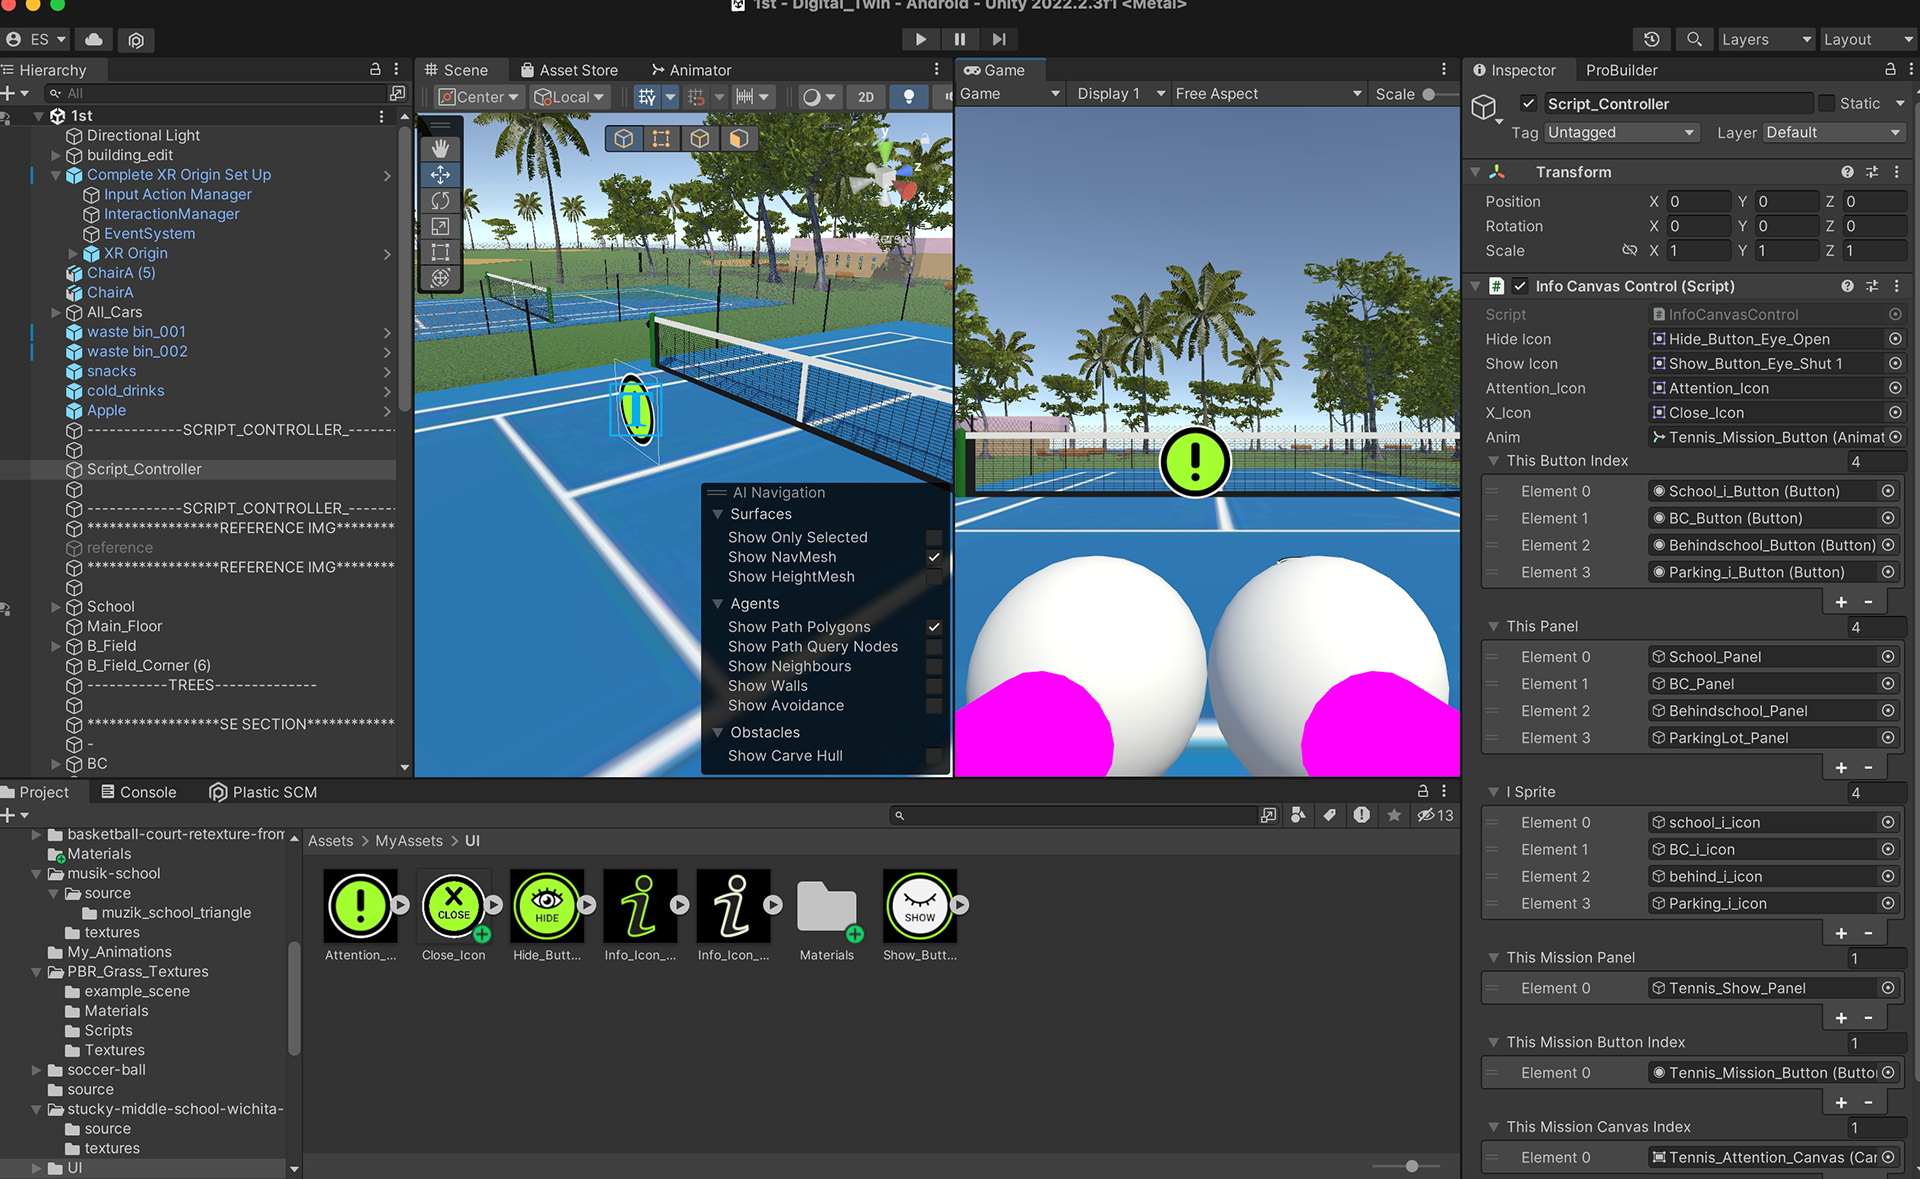
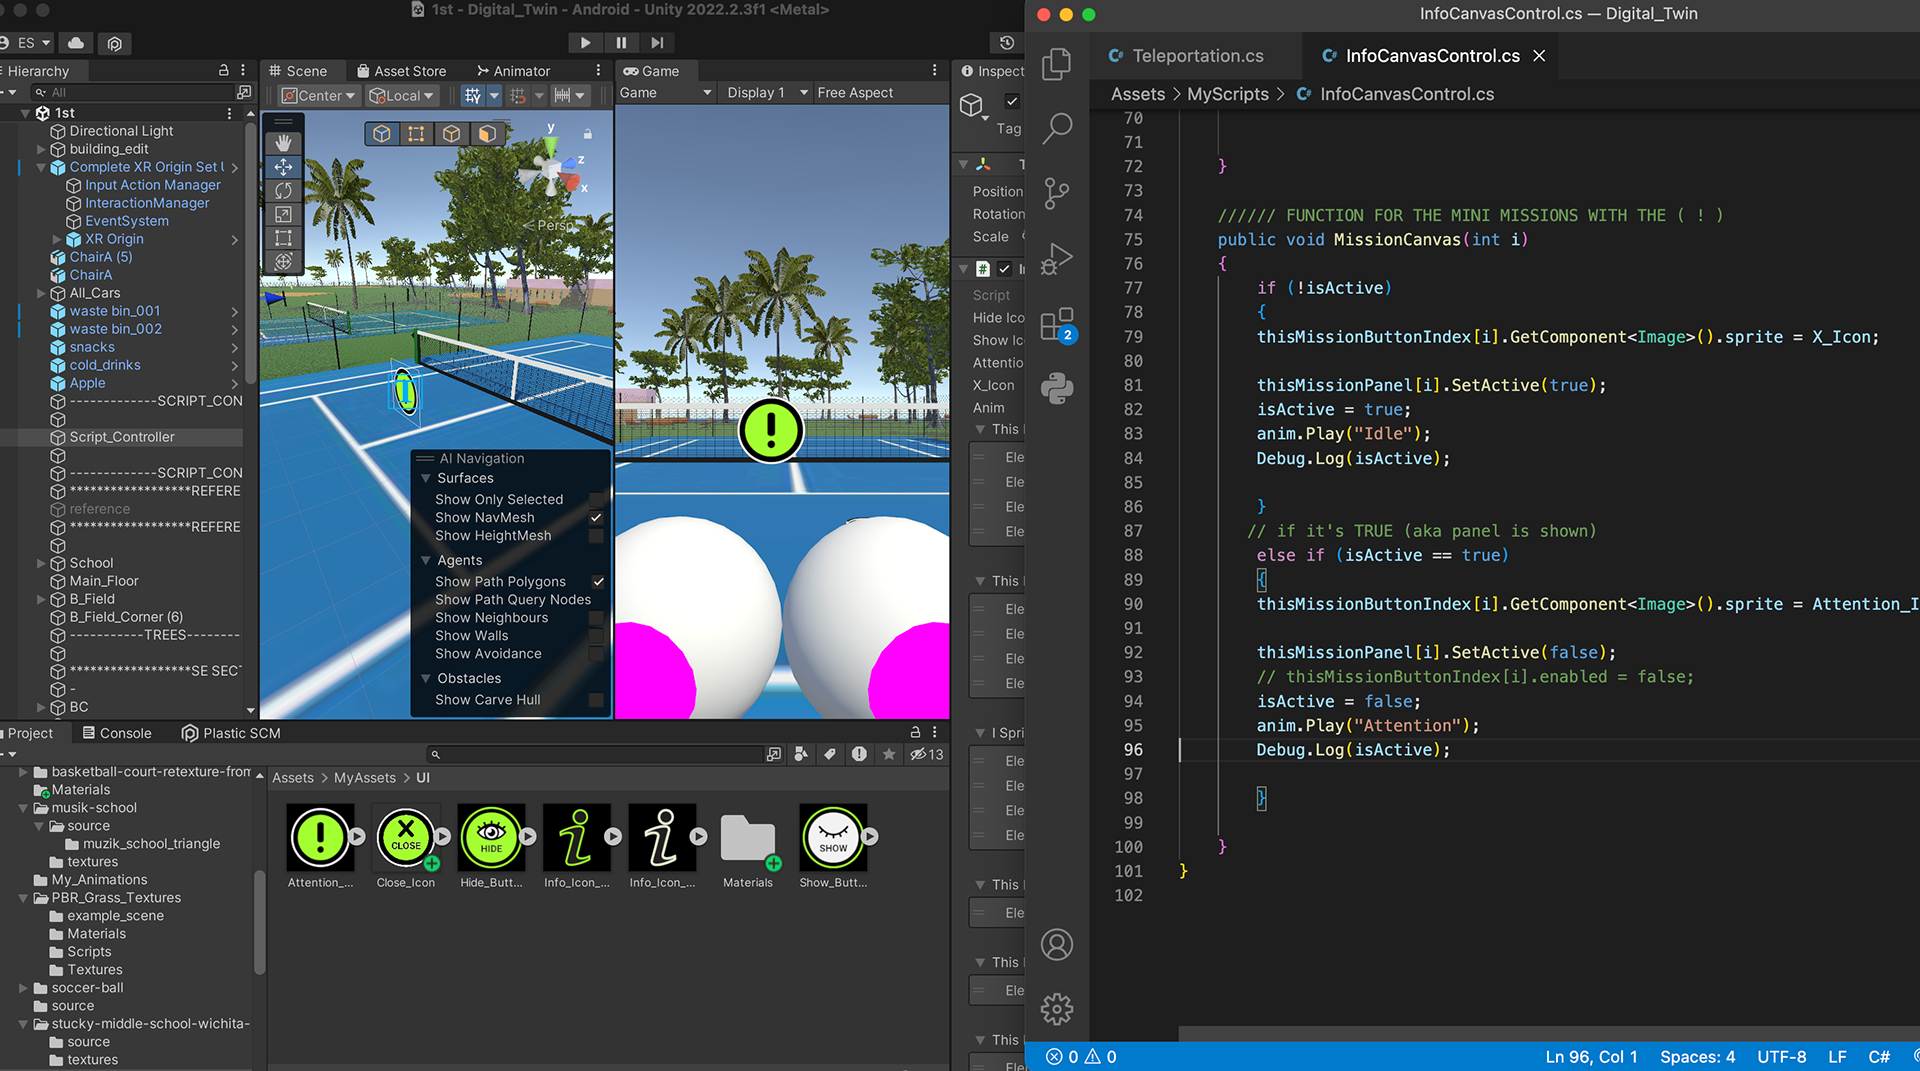
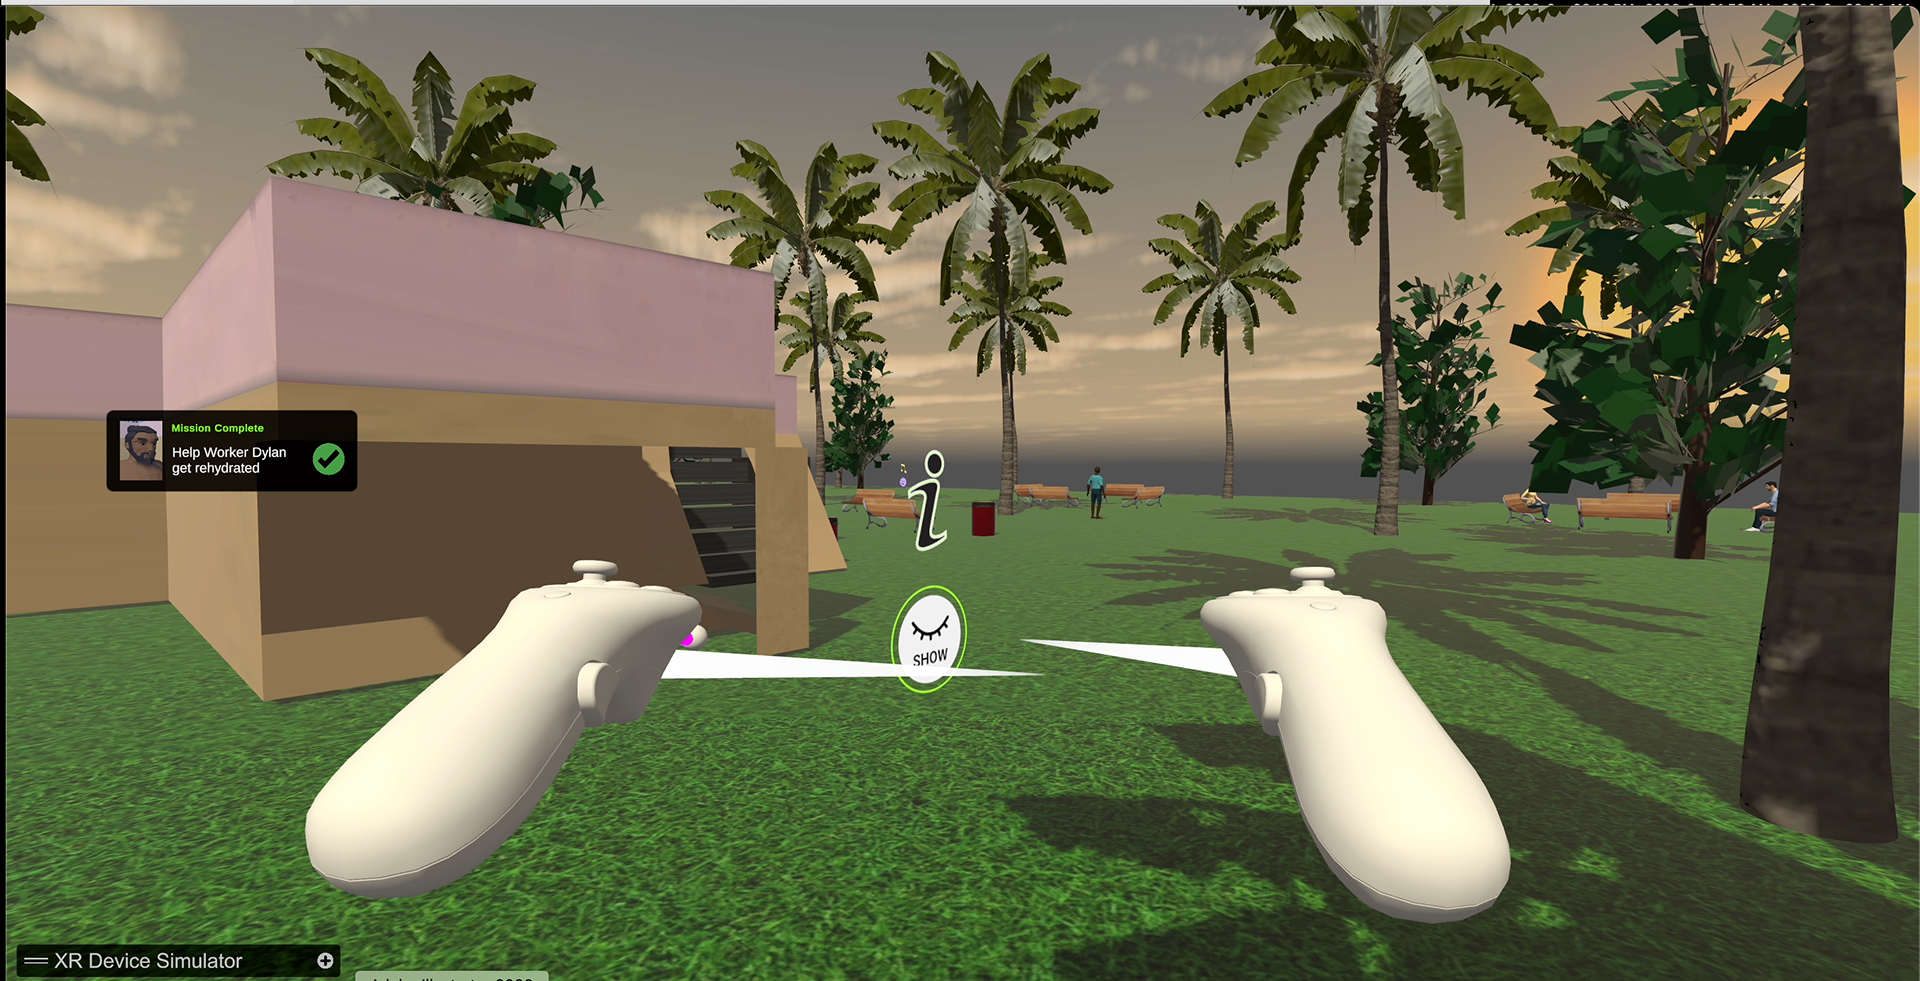
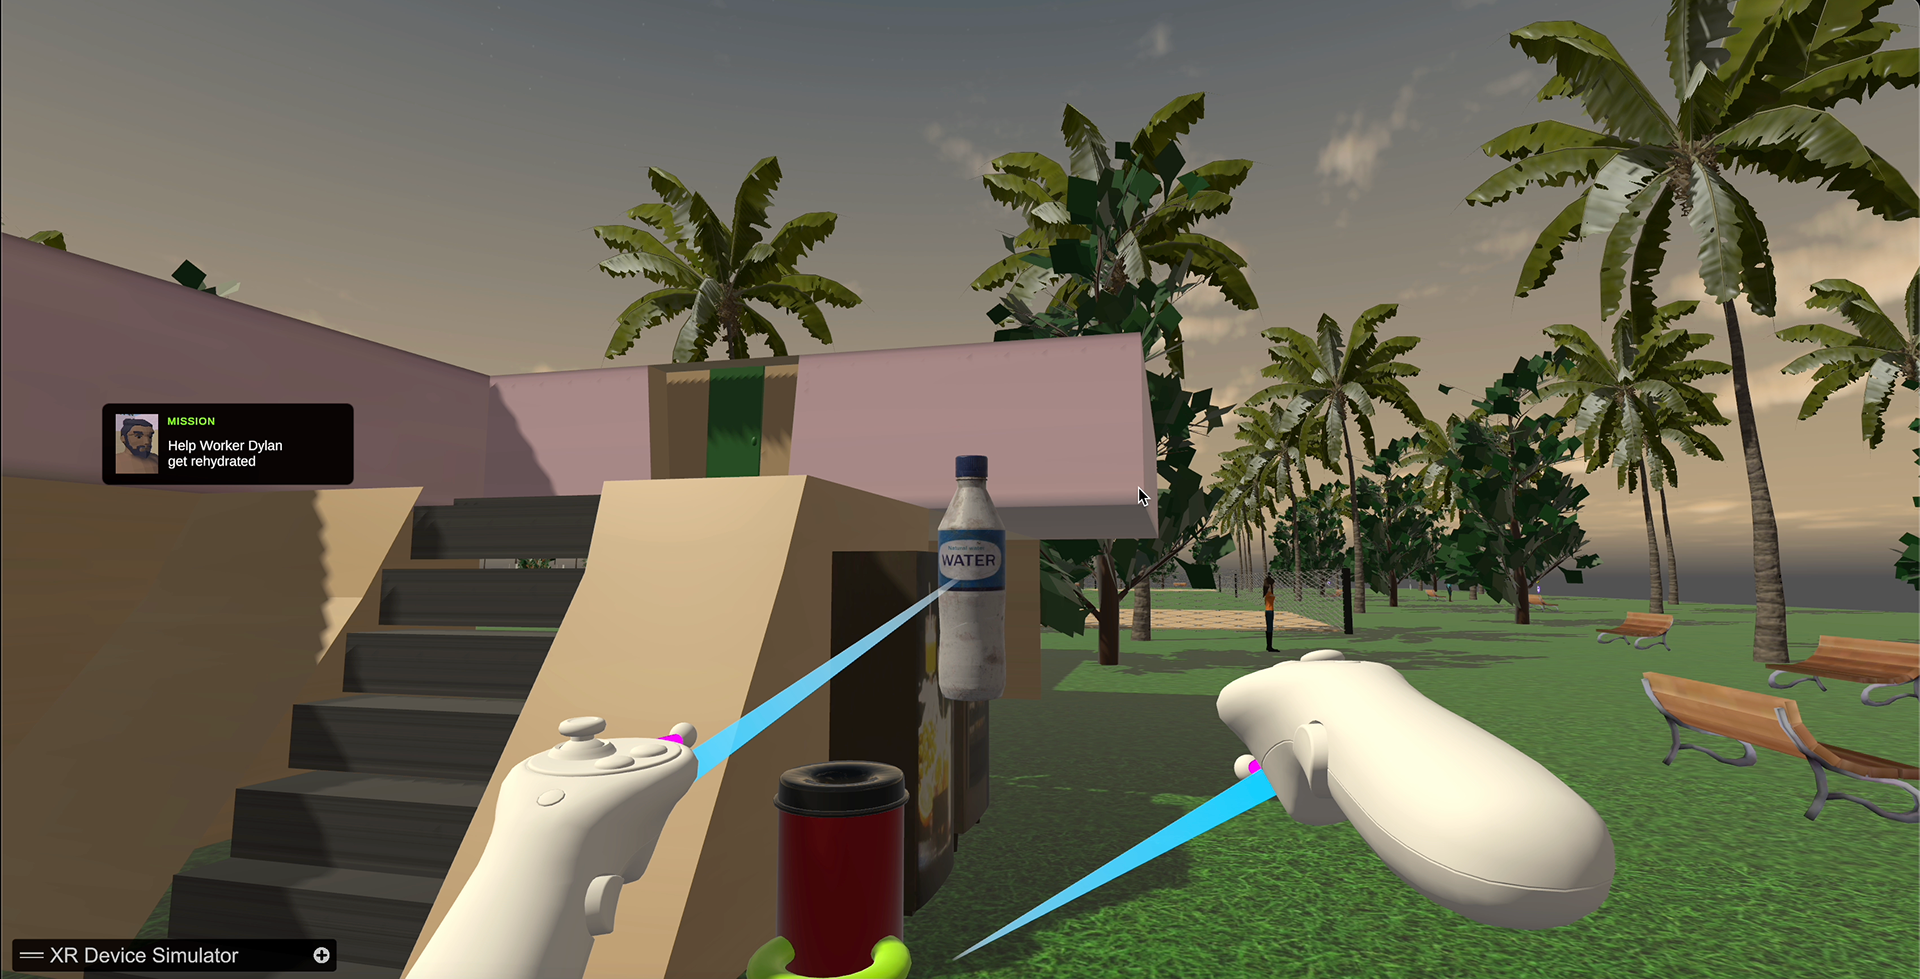
Completing Mini Missions
• When a user triggers a new mission, they will also activate a small UI panel on the HUD, similar to how some RPGs display quests and side quests on the screen on the upper left or right hand corner
• Similarly, once a user has completed a mission, the panel will display a checkmark, as well as "MISSION COMPLETE" text to indicate updated system status
• I am thinking that once user completes the 5 missions, they will activate the end of the game and credits will appear, and maybe change the light to simulate a sunset, indicating the end of the day
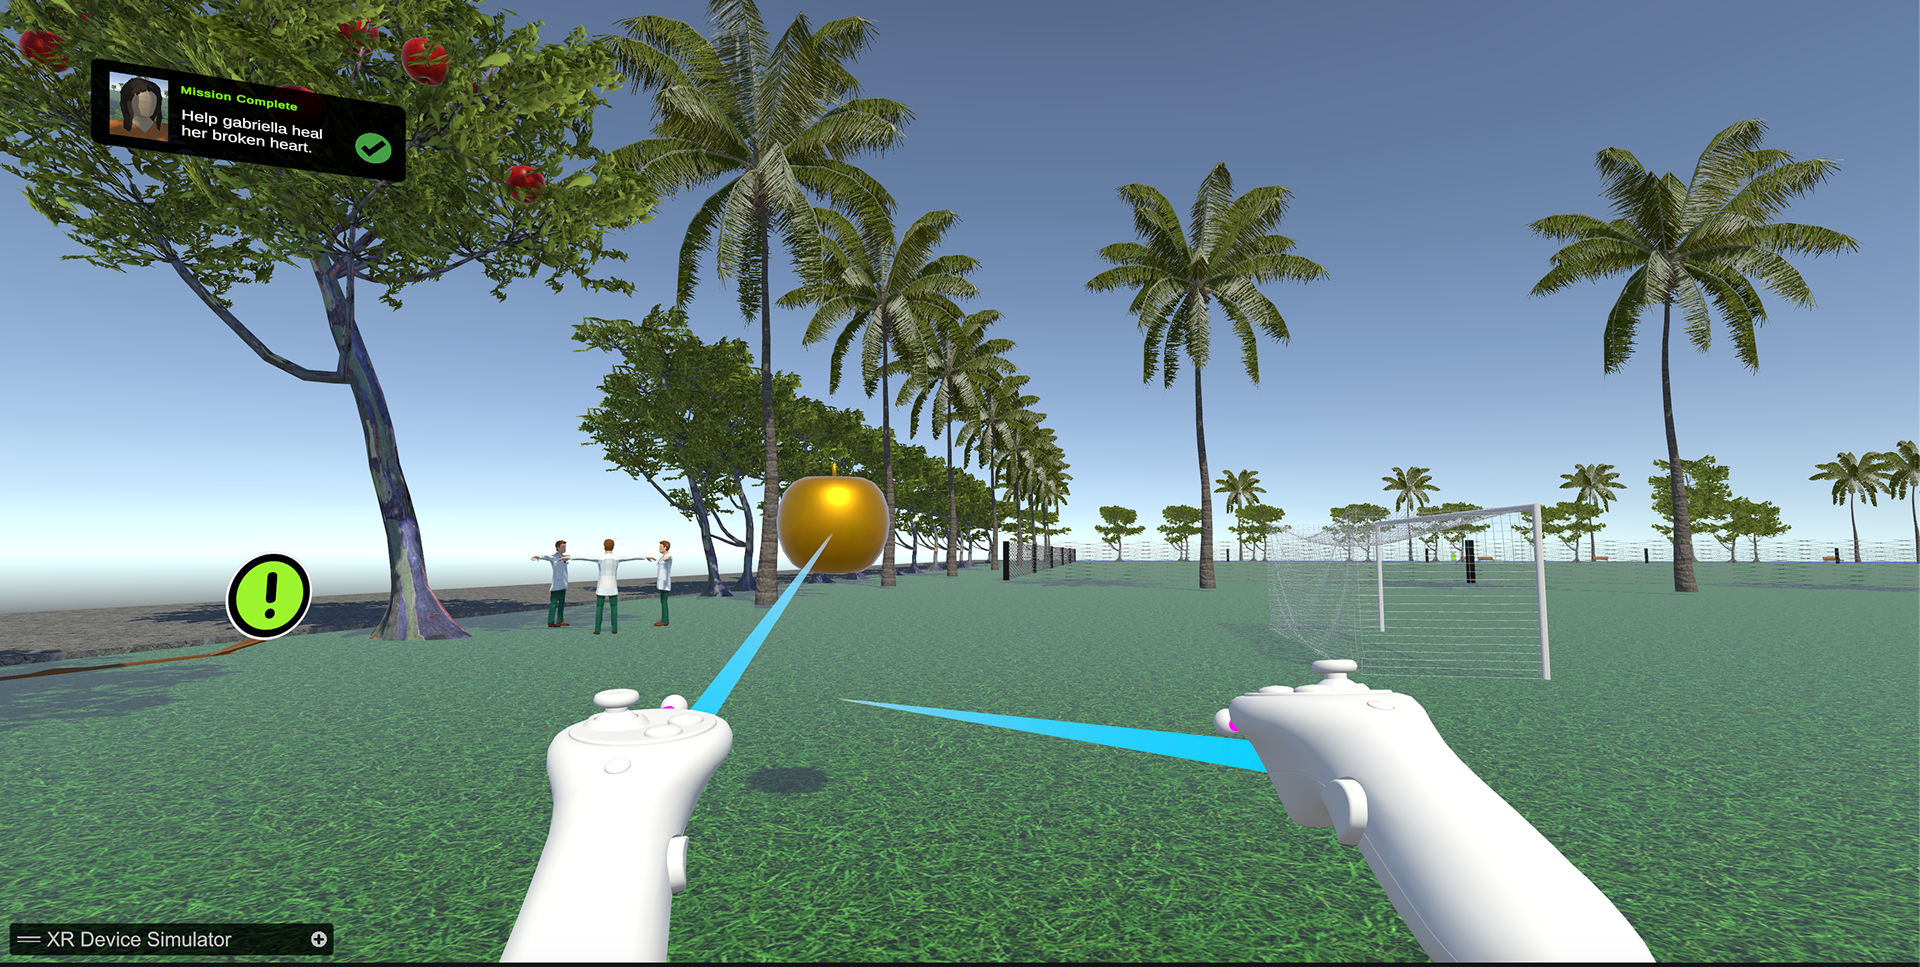
User interacting with a special "GOLDEN APPLE" that is needed to fulfill two of the games mini missions
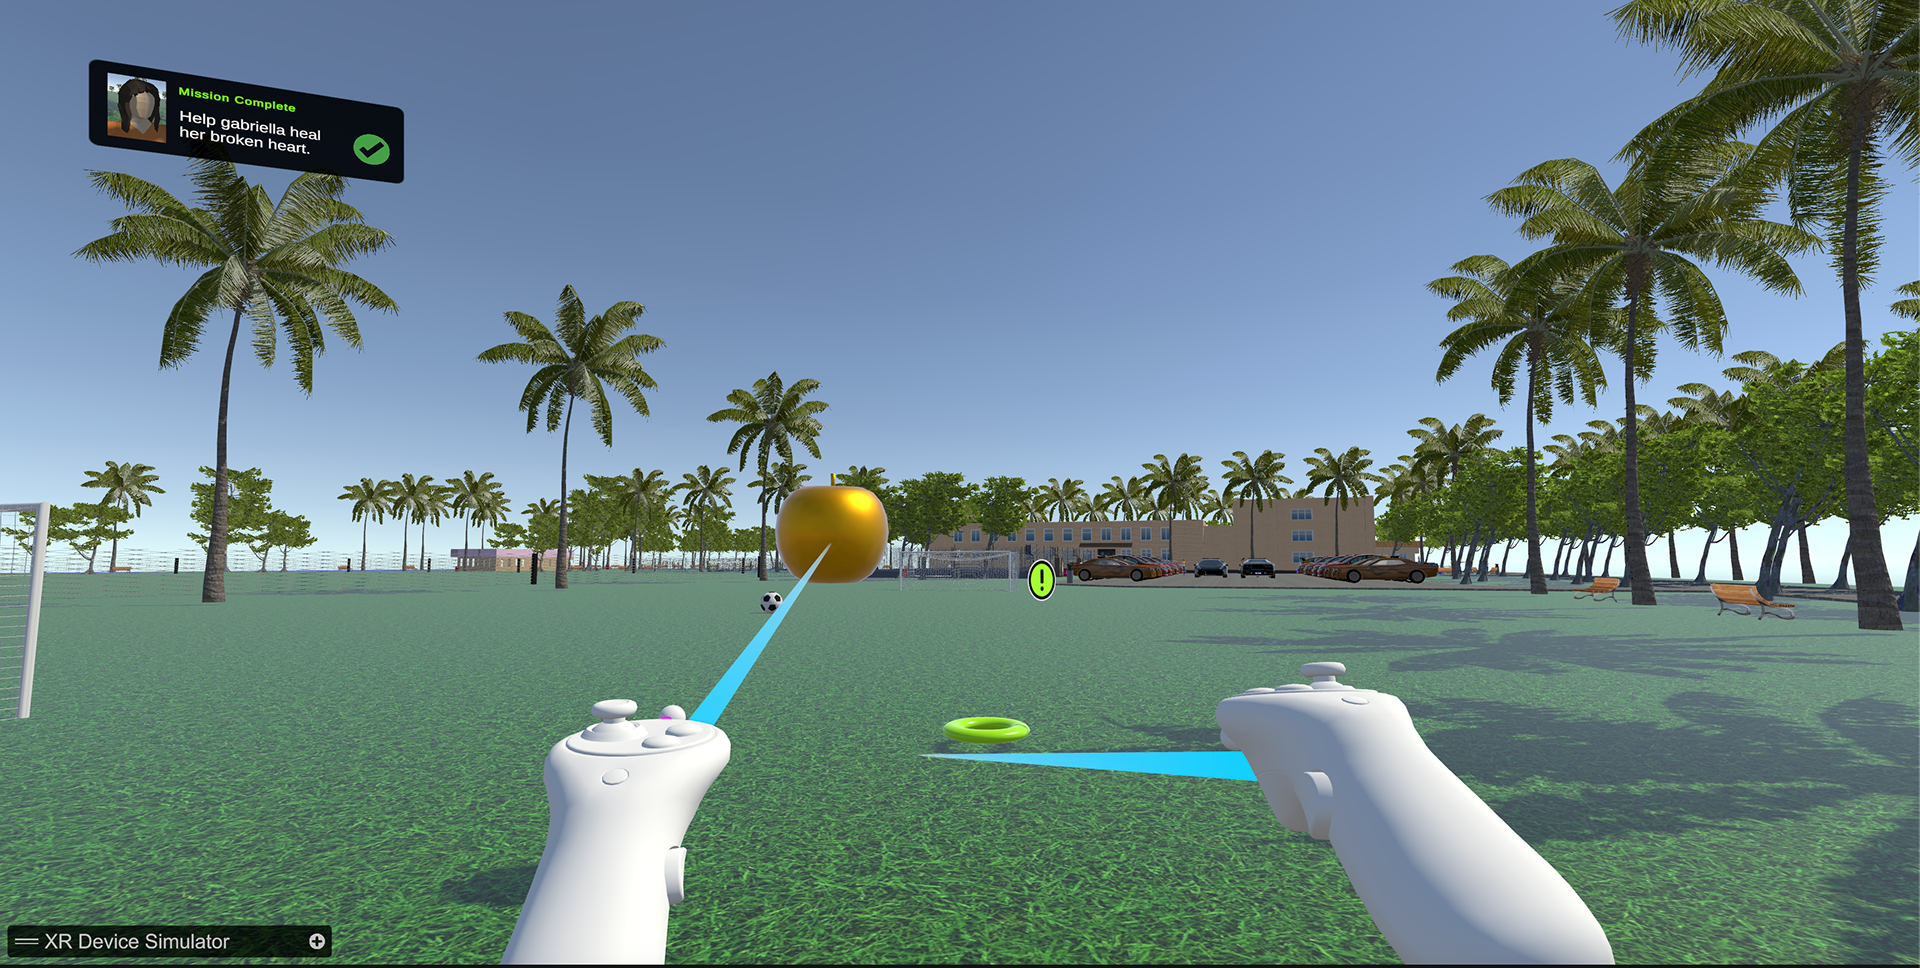
User interacting with a special "GOLDEN APPLE" that is needed to fulfill two of the games mini missions
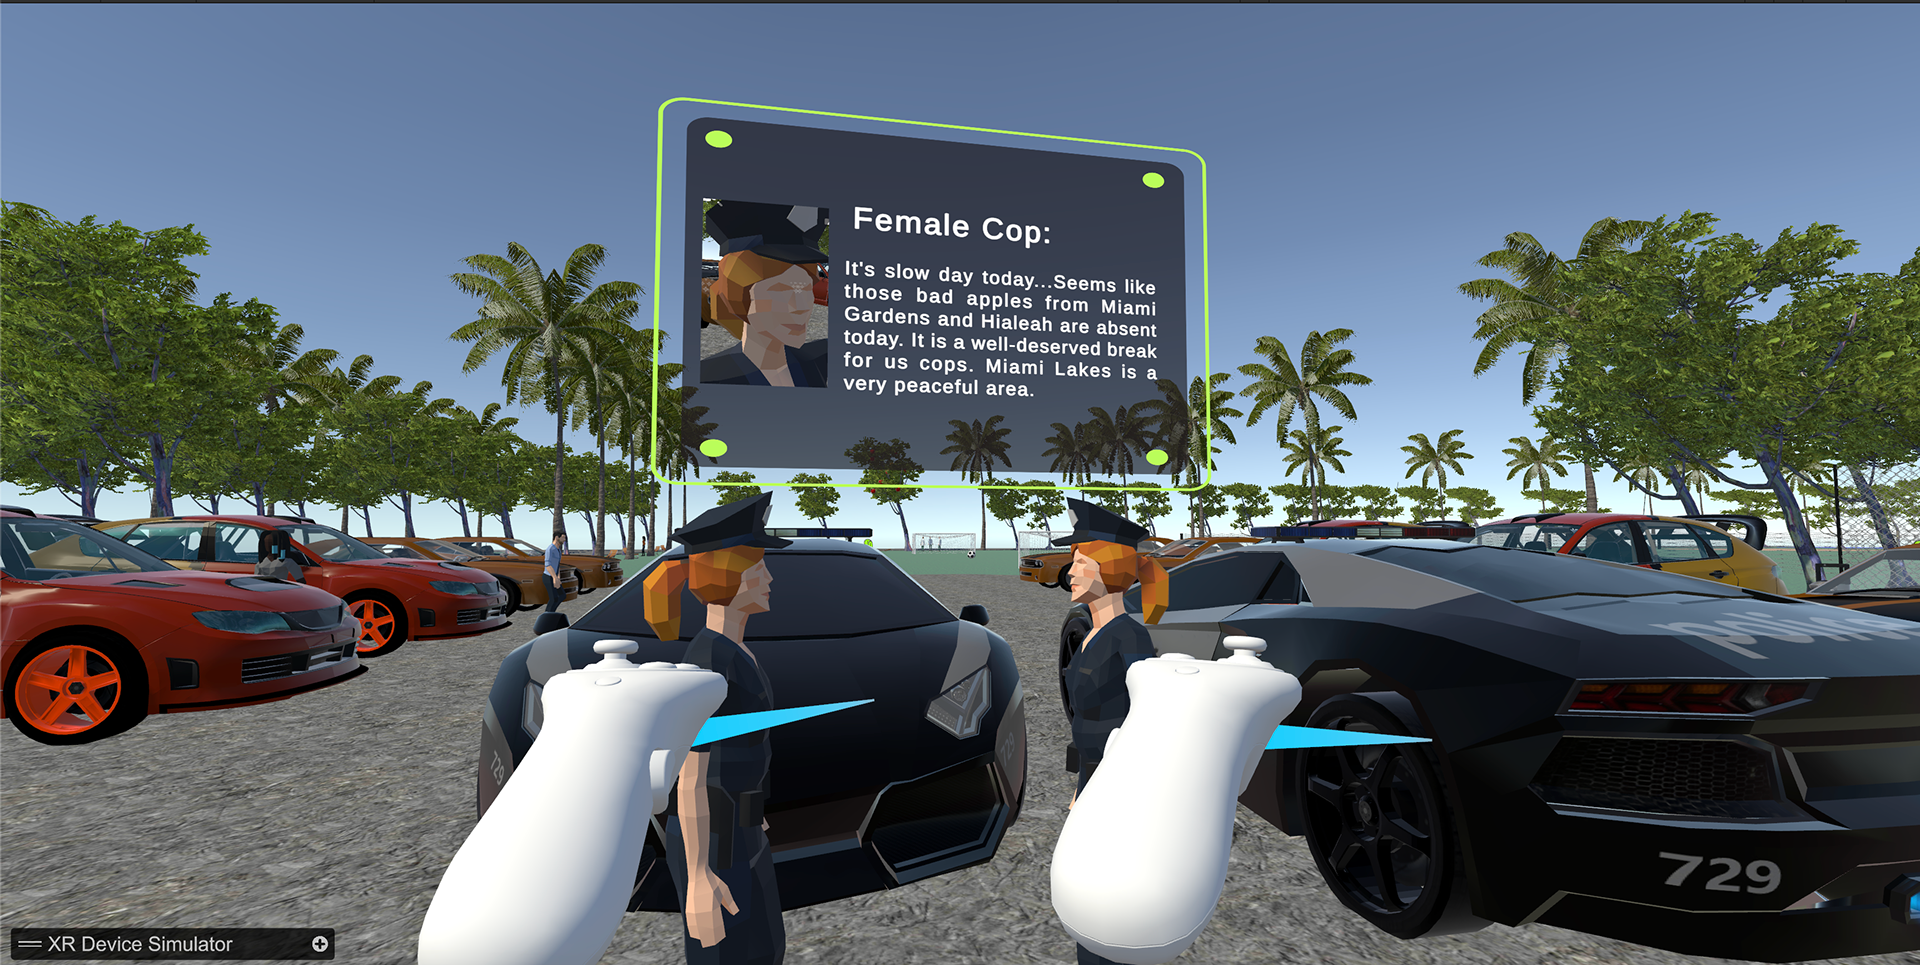
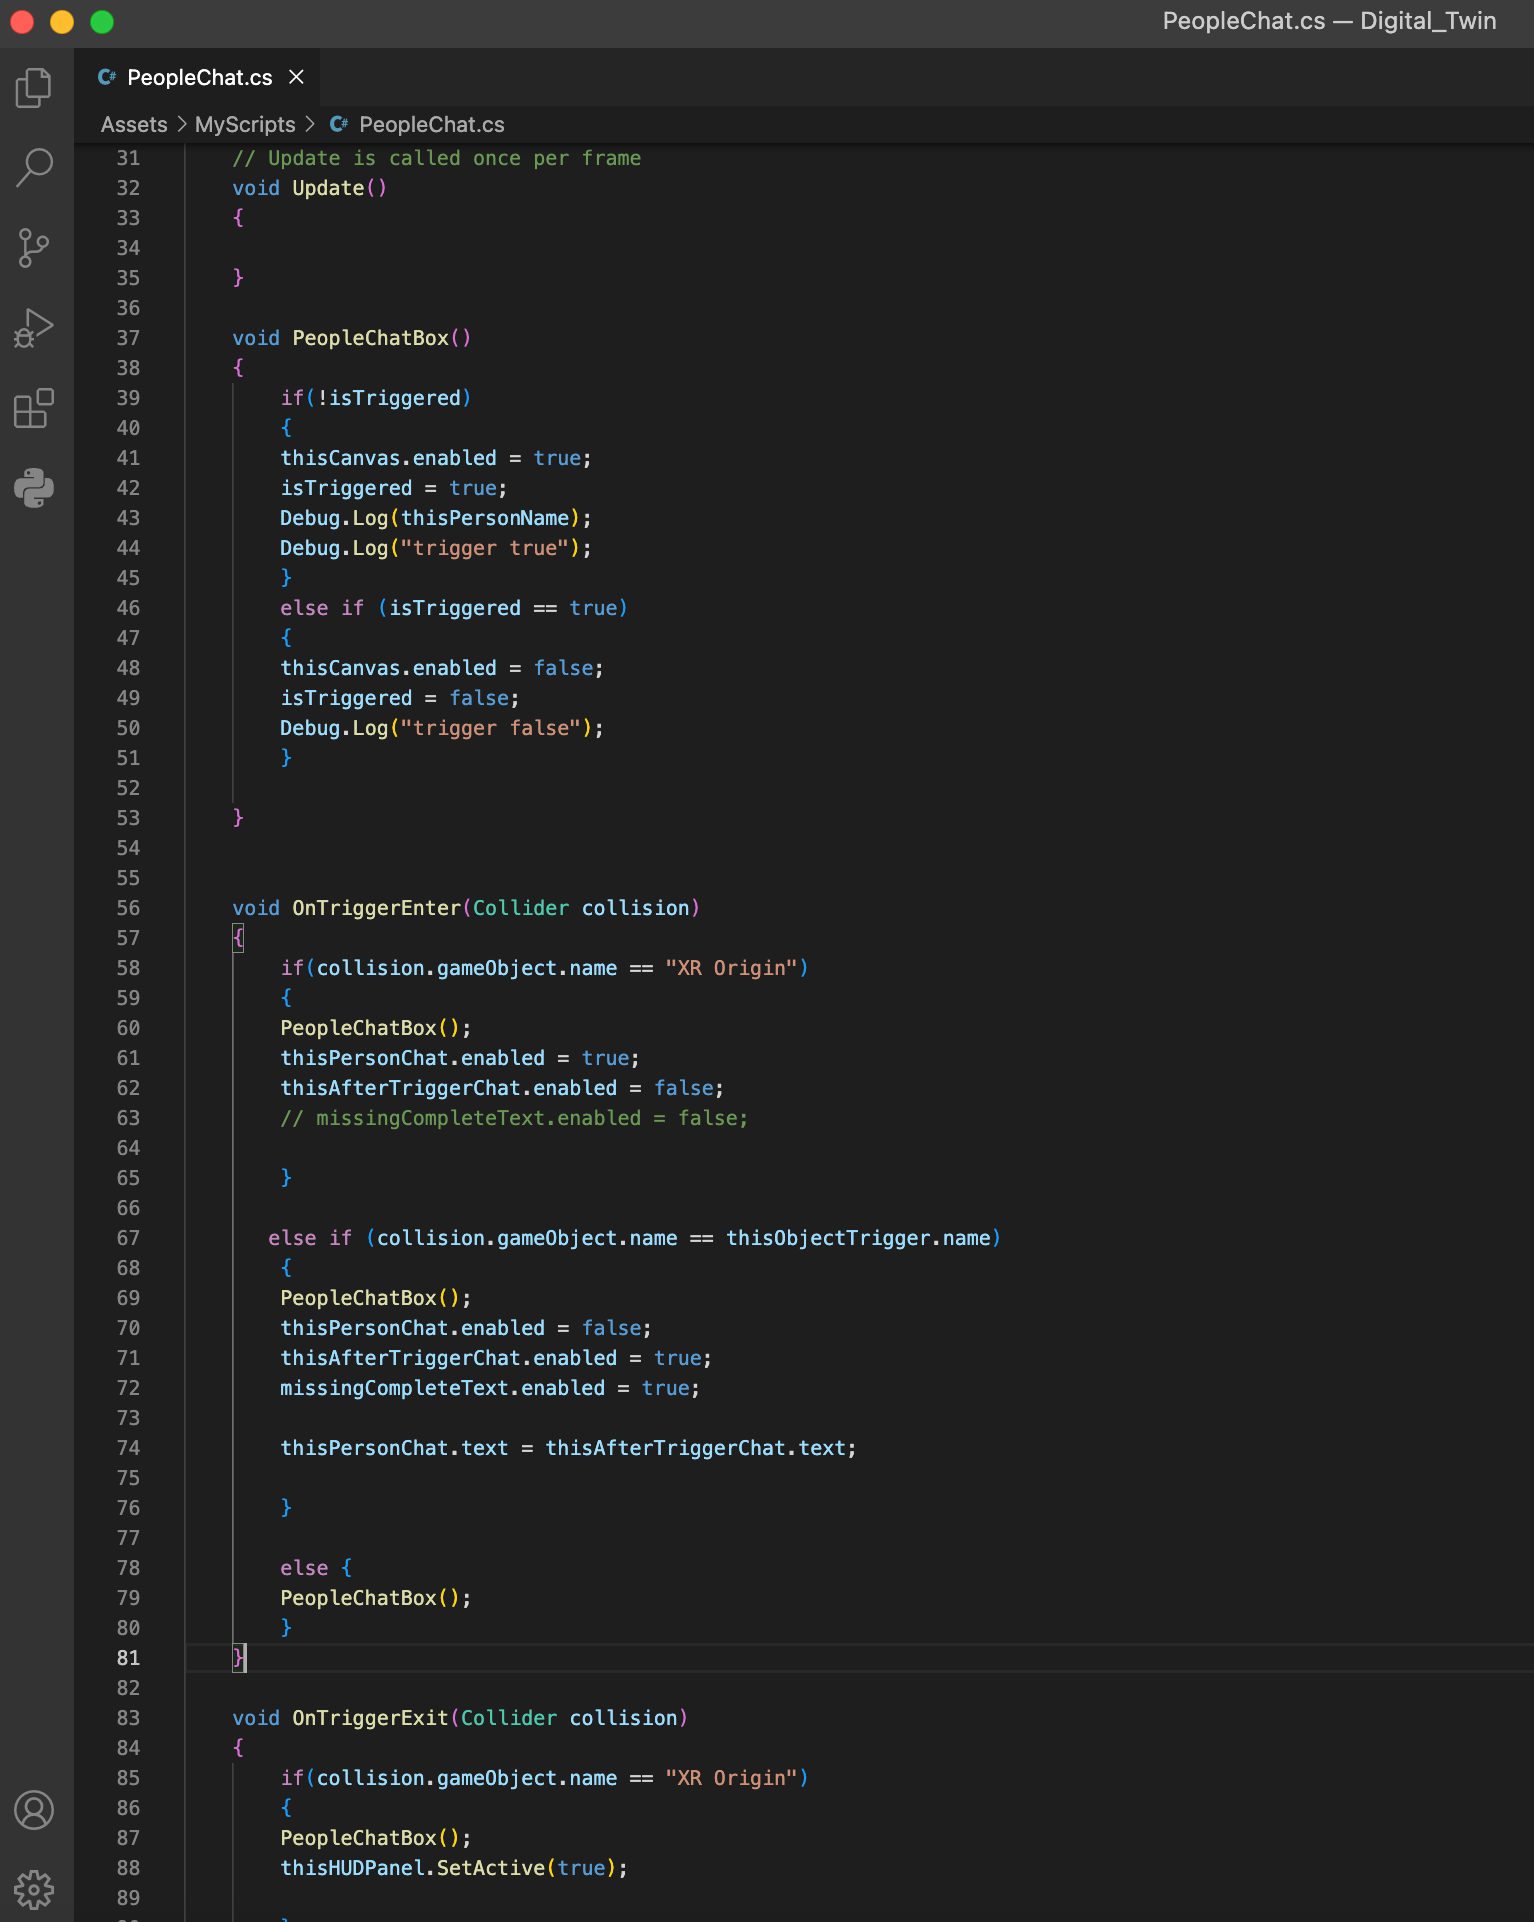
Interacting with People
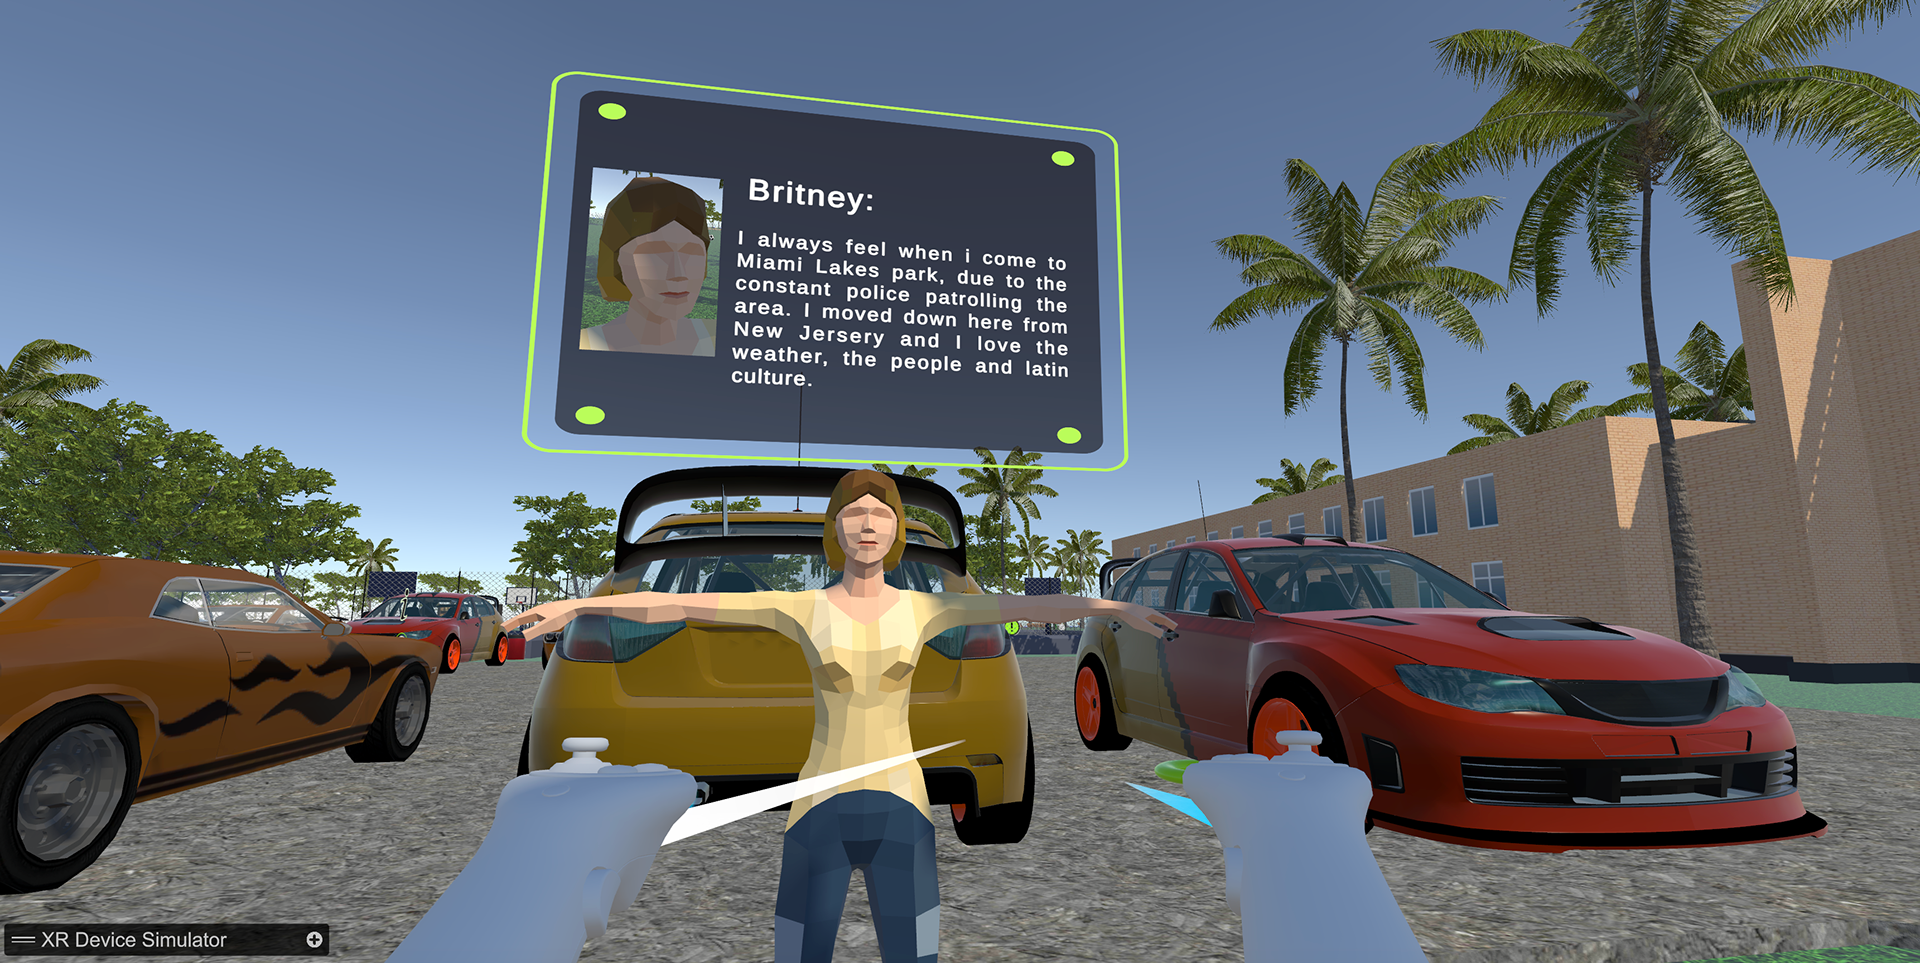
In order to do the most with the least amount of scripts, I created a scalable script called PeopleChat.cs, that I attach to those people who the player can interact with (not everyone!) and by using OnTrigger colliders, I then made the collision object to be "XR Origin" which is easier than attaching it to XR origin and having a bunch of "if else" statements that can go on and on; that is simply NOT scalable.
In addition, talking to some people unlocks a "mini mission" that consists in finding an object and bringing it to them to watch them react, or fulfill a request they made. By doing this, I am promoting exploration in the world, and adding another level beyond just normal user chatbox.
Again, for those users that ask me for an item, or trigger the mission, I created a second "if else" statement, and a public variable that I can then assign to whichever object I want to be the trigger. This works best, since I am using this same script across all people, and therefore I needed a placeholder variable.

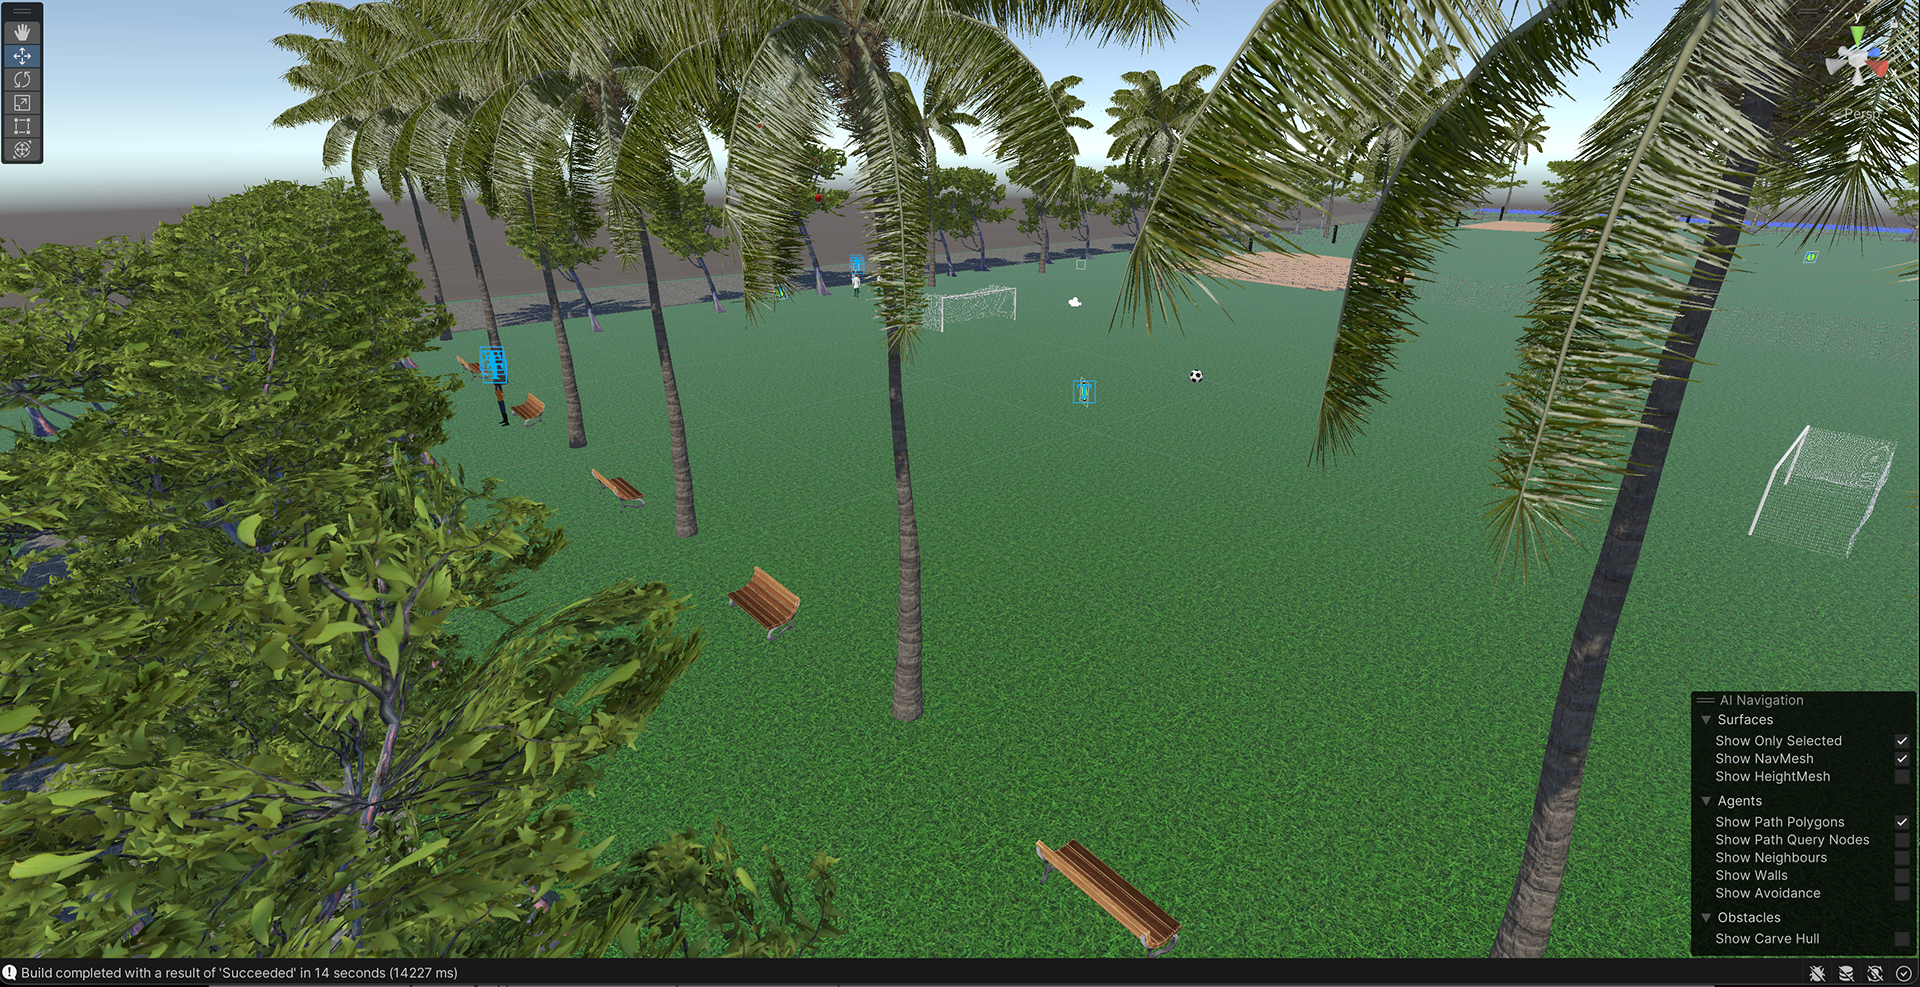
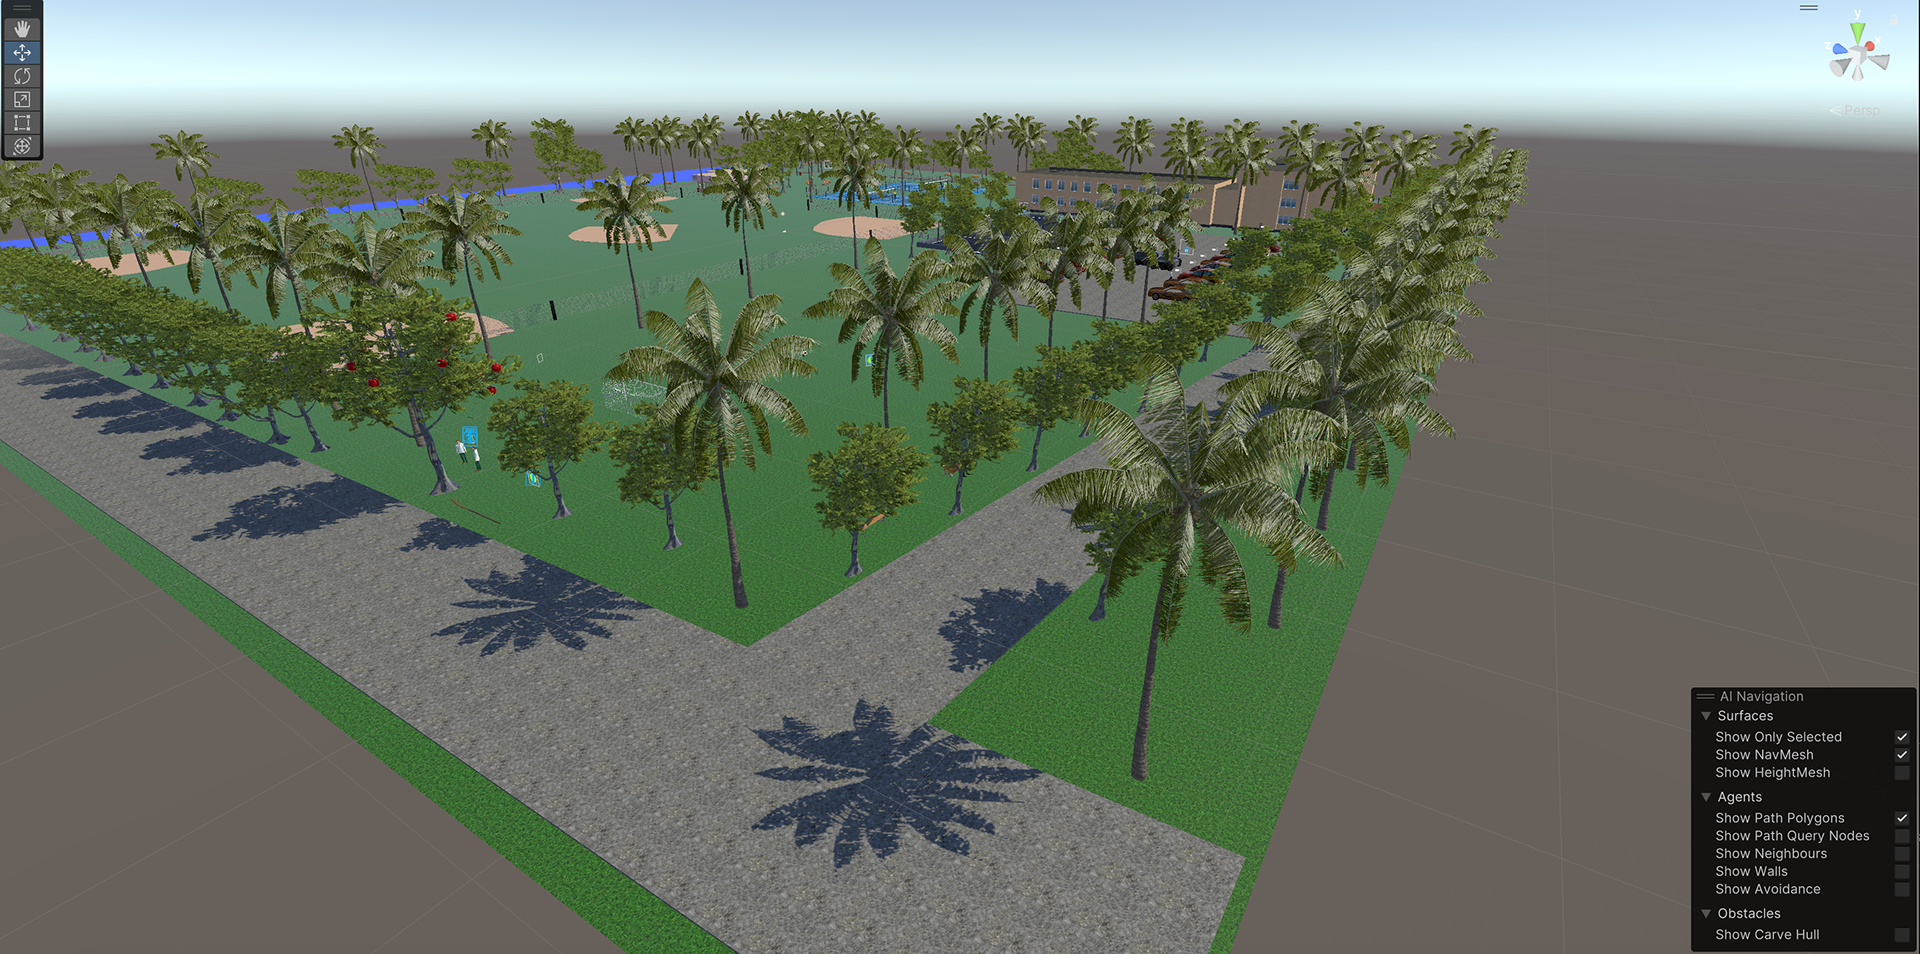
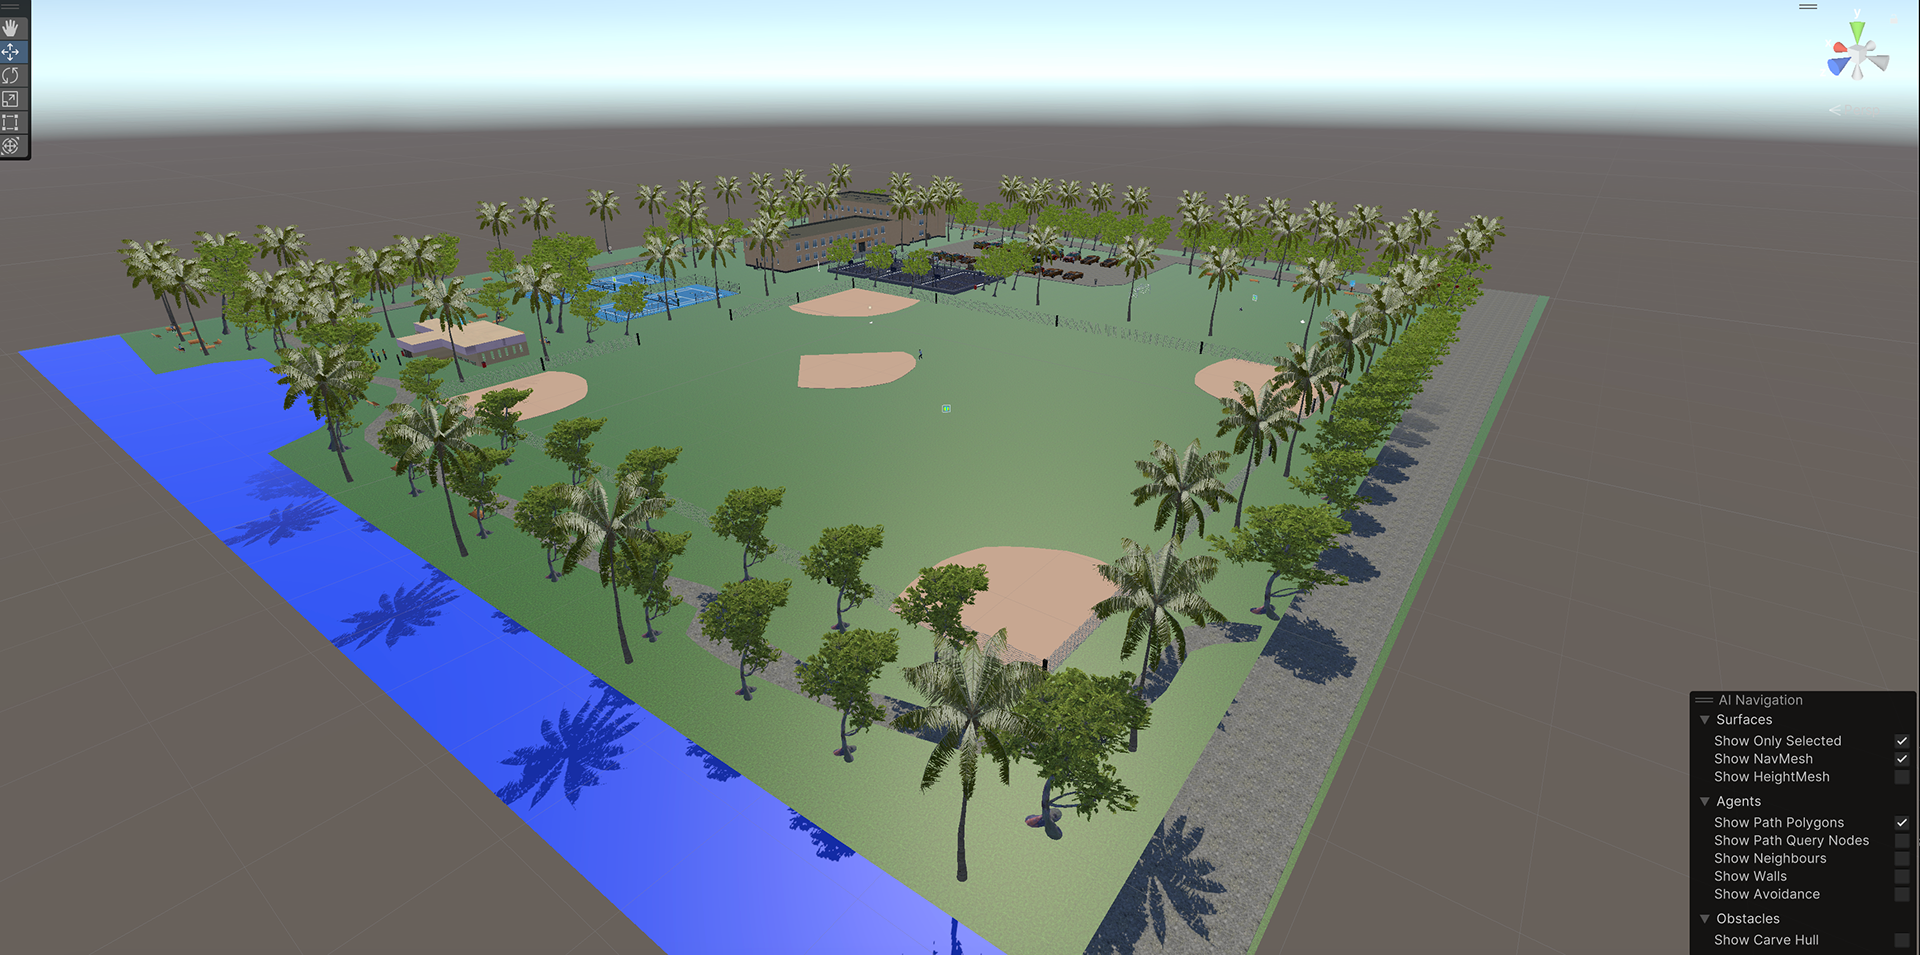
Aerial view of the soccer field area of Miami Lakes Park


1st Iteration [Demo Video]
Final Iteration
After realizing that a sunset backdrop would be more fitting for my VR experience (and also since sunset is my favorite part of the day while being at this park) I changed the skybox image.
I also added songs throughout the park, so as the user explores, they can change the background music (to simulate the experience of listening to music while walking/exercising at the park)
This is also an allusion to my own personal project called "Sonidico" which is a music streaming app that features location-based playlists called 'music stops' - (Click here to view more details on that project)
As you may have seen, I am very consistent with my music themes throughout my projects since I started my MFA at UM. I love music as much as design so I always try to juxtapose both passions into consistent projects.
Anyway, see below for more screenshots of the latest iteration of the project. The demo videos for some reason do not have the background music, I guess when recording via MacBook screen recorder the background music does not show, nevertheless in the deployed app on Meta Quest the music works fine.
Music Stops
I added another interactive component to my VR app - music stops. Originally I was going to include 3-4 songs per panel (aka playlists) and while I got it working and scripted it, I stripped it down to one song per stop. My desire was for people to have a reason to explore the map, so by adding only one song per stop, they can go to the next one and have an incentive to explore.

Updated UI assets folder - now containing the music stops UI buttons and icons. I chose pink to go along with green, but so users would know one color was for music stops and another color for info panels.
Updated UI assets folder - now containing the music stops UI buttons and icons. I chose pink to go along with green, but so users would know one color was for music stops and another color for info panels.


Next Steps...
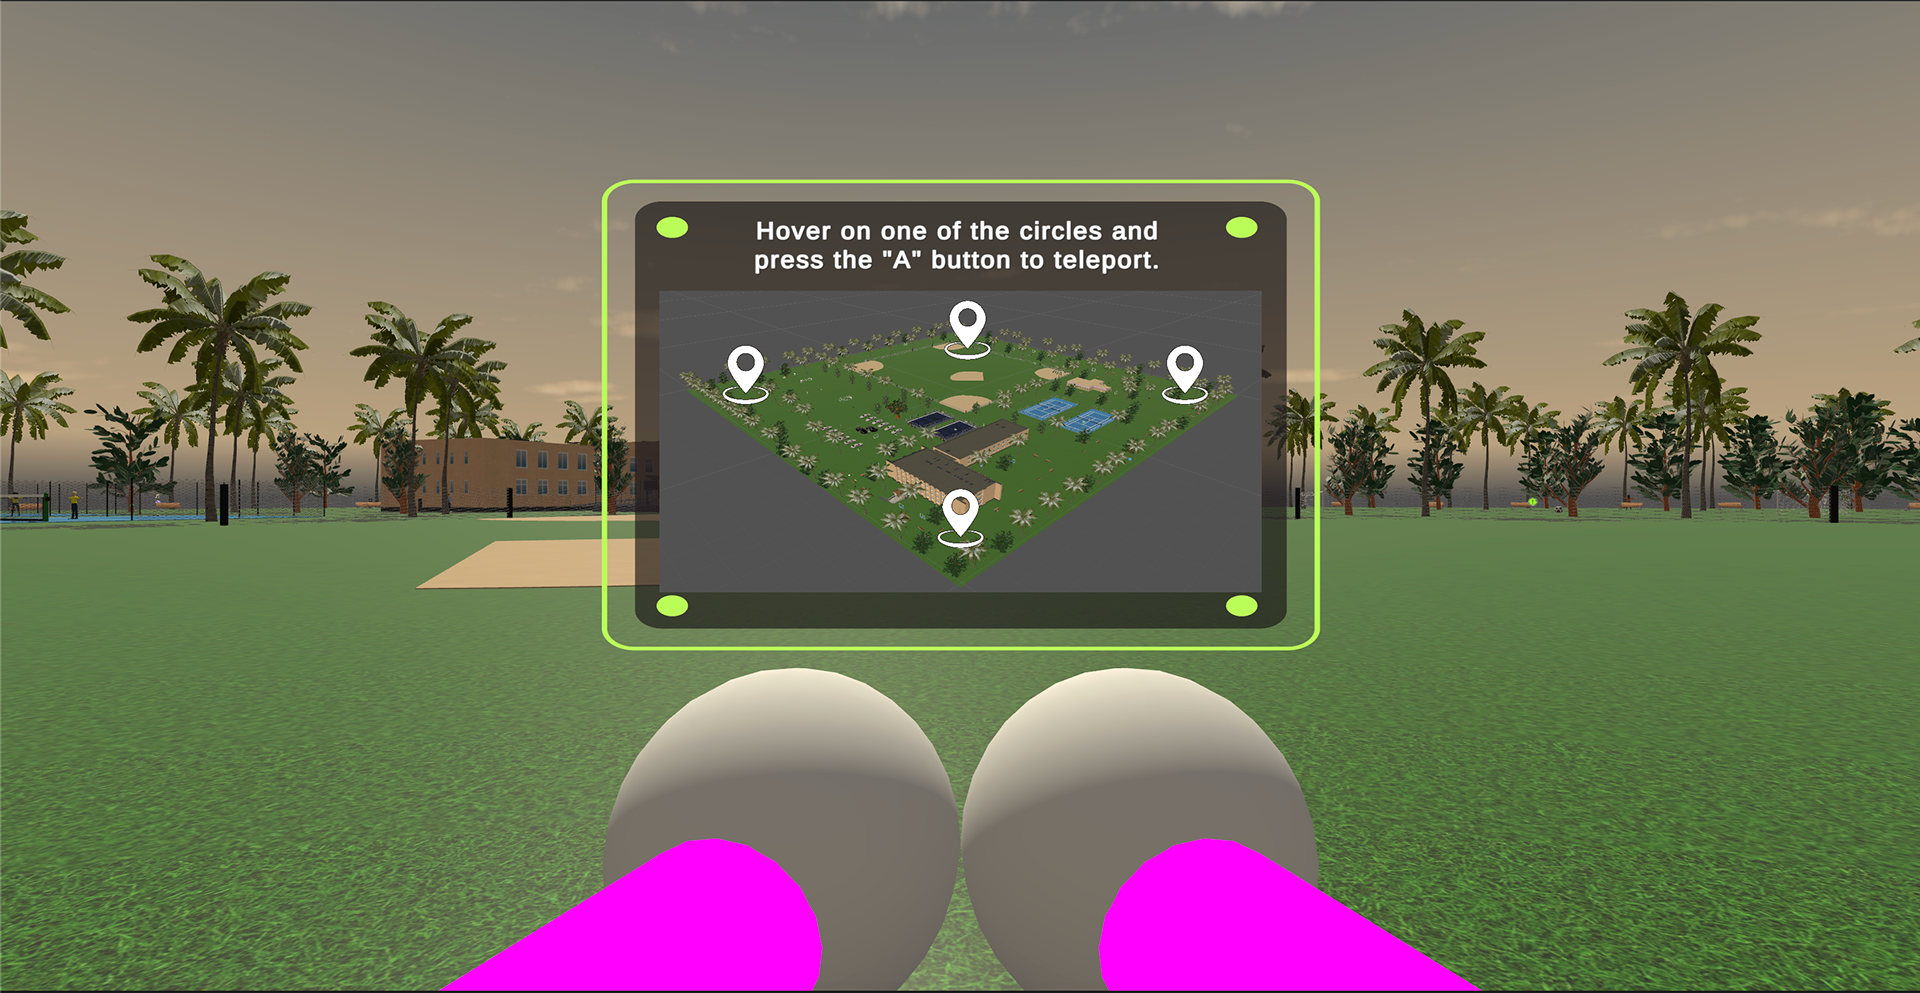
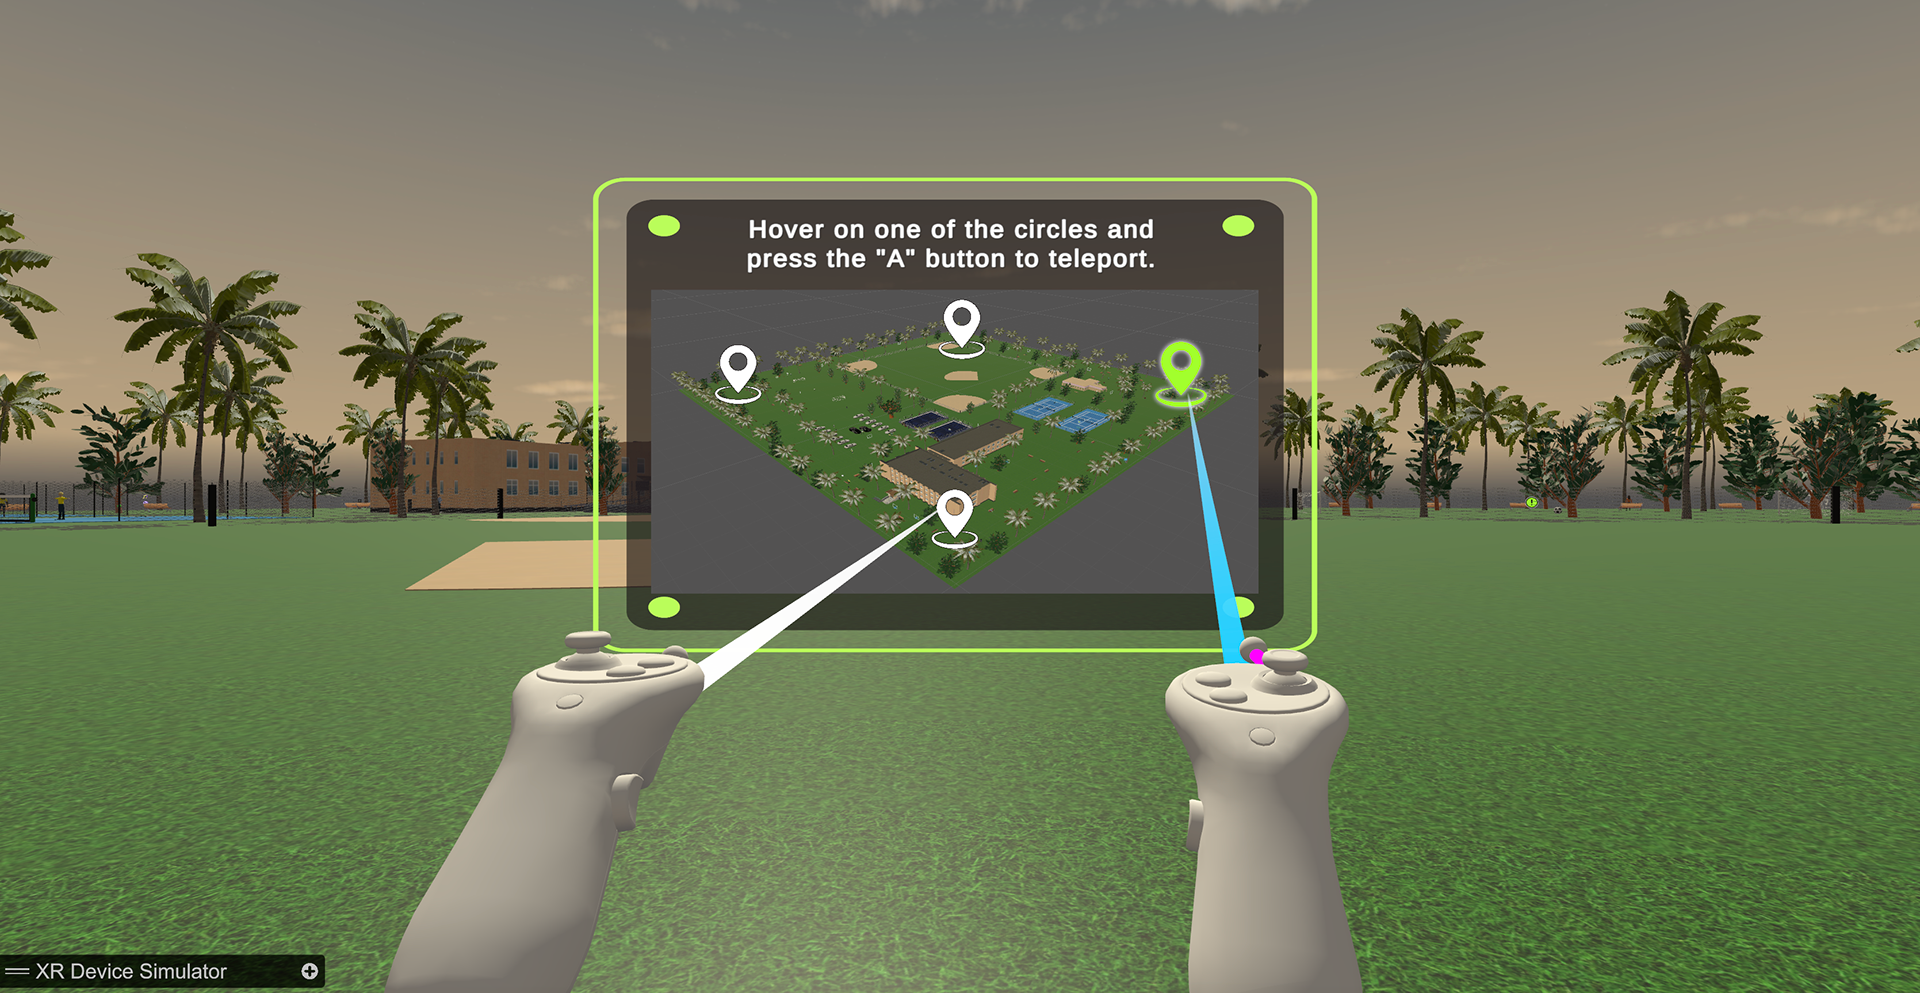
Quick Teleportation (Using Map)
Implement a map for quick teleportation across the for corners of the amp (North, South, West, East). I already did it but I have to include the video for it. I also mapped this feature to the "A" button on the right controller for user to access easily at any time.
Now Playing Screen (Music Player)
Now that I put music stops throughout the map, I realized there were some UX design opportunities:
Problem: When player plays a song there was no way to "play/pause" at will until they went to another music stop to pause/choose another song - this is incongruent with users' mental models of how current music streaming apps (like Spotify or Apple Music) works.
Solution: Simple add a "now playing" screen and map it to another button (e.g., "B" button on right controller) so when the player chooses a song they can play/pause it at all, and then use to forward/backward buttons to access songs they've already 'unlocked'. They still have to go to a music stop to 'play' and add it to their queue, etc. this feature is in progress and probably won't be ready in time for UM Interactive Media Showcase

Final Version [Demo Video with audio and Now Playing Screen]